

Business sticker packs: bundling shapes for a product line
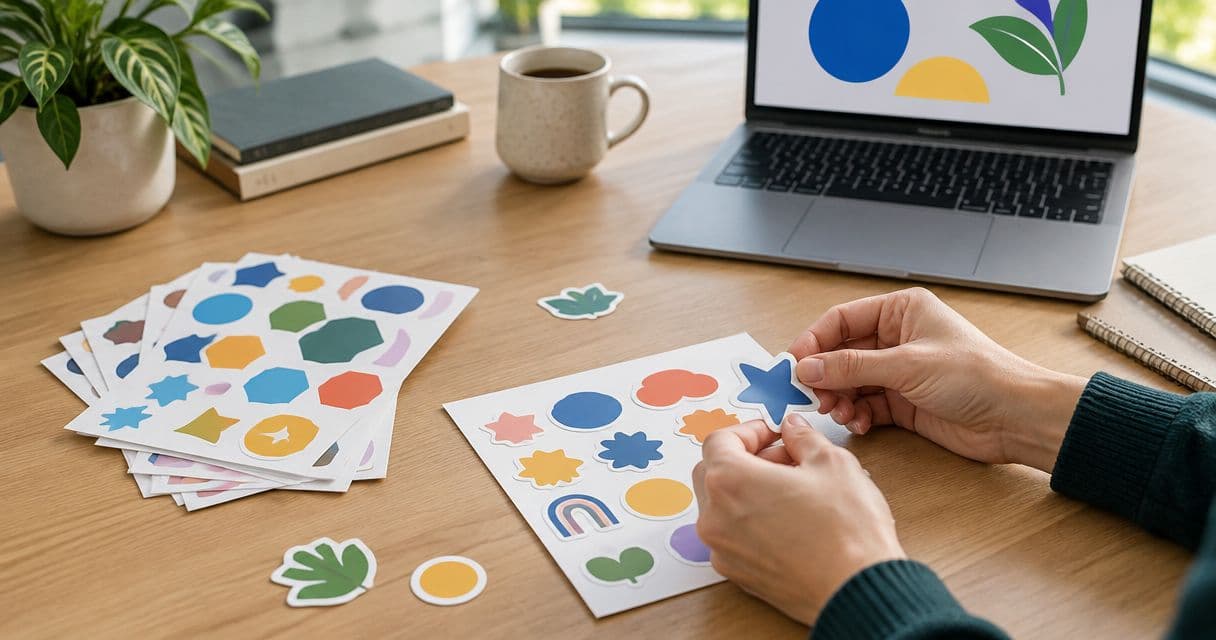
Small-business sticker packs are coordinated sets of custom printed stickers designed to connect a product line, with the aim of making packaging and giveaways consistent and useful. Unlike a single logo sticker, a pack needs shapes that work together, artwork that stays readable at different sizes, and quantities matched to how you will distribute each piece.
- Build business sticker packs around packaging and giveaway jobs, not a collection of unrelated shapes.
- Vinylstatus suits small businesses ordering custom printed stickers from their own artwork.
- Match die-cut, circle and square stickers to distinct uses before choosing quantities.
- Check each proof separately; production after proof approval and shipping are separate stages.
Why sticker packs matter for small businesses
A sticker pack creates more decisions than a single-design order. Your logo, product artwork and packaging message must look related without forcing every design into the same outline. A circle can repeat across a product line while a die-cut illustration distinguishes individual products.
Give every sticker a job before you give it a shape. If two pieces serve the same purpose, decide whether both earn a place in the pack. Extra designs mean more artwork to approve, more pieces to sort and more chances to assemble an incomplete set.
Vinylstatus custom printed stickers suit small businesses supplying their own artwork. Free online proofs and human artwork checks provide a review stage before production; they do not replace your decision about what belongs in the pack.
For a 2026 packaging plan, start with the surfaces you actually use: cartons, bags, mailers or giveaway handouts. A pack that looks coordinated on screen still needs to work on those surfaces.
How to build business sticker packs for a product line
1. Assign each sticker a specific job
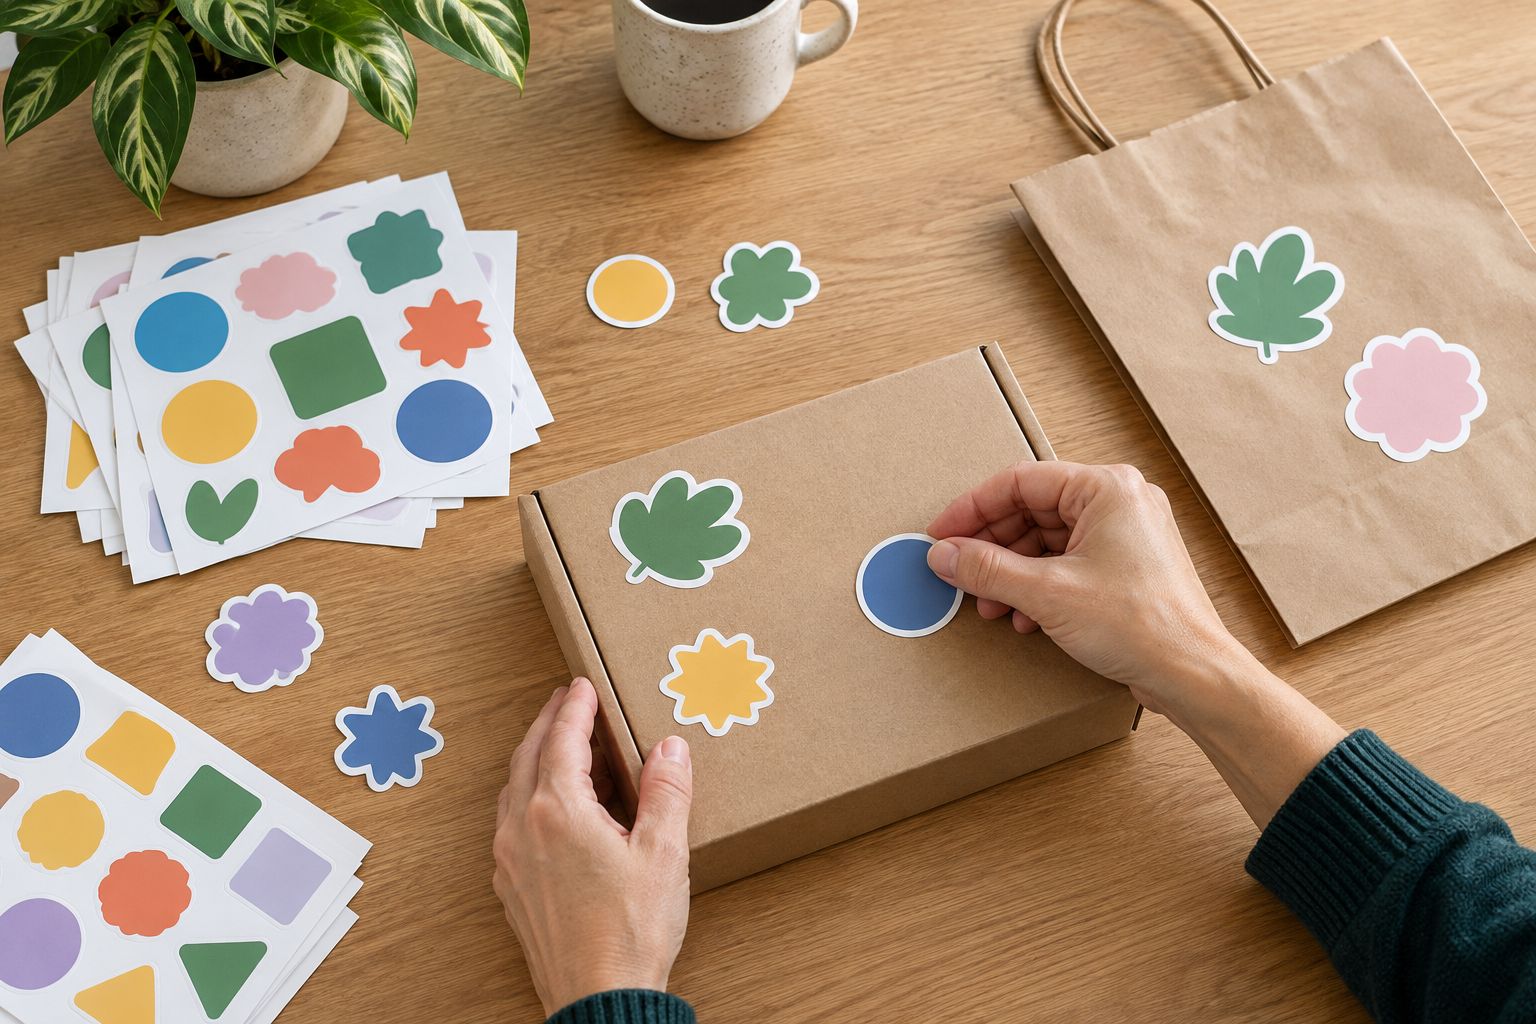
Separate packaging stickers from loose giveaways before designing the set. A sticker attached to a box must fit its placement area. A giveaway needs to make sense after it leaves the packaging, without the product description beside it.
Write a short brief for each proposed piece. Include the intended surface, the message and the person applying it. This prevents a decorative extra from quietly becoming another required packing task.
For example, a hypothetical pack might contain a shared brand mark, a product-specific illustration and a QR-code sticker. That is a proposed structure, not a rule. Remove the QR code if you have no useful destination beyond the page the customer just visited.
Keep your 2026 pack brief separate from individual artwork files so staff can understand the set without opening design software.
- Brand mark: establish the business identity.
- Product artwork: distinguish a product or collection.
- Packaging message: communicate one clear instruction or detail.
- QR destination: connect the customer to a defined next action.
- Distribution point: specify whether each piece is applied or included loose.
2. Match each shape to its placement
Choose shapes from the available space, not from a desire to include every format. Circle stickers work with centered artwork. Square stickers provide a straightforward frame for a compact layout. Die-cut stickers follow an artwork silhouette and need careful attention to narrow details.
Measure the usable area on the actual packaging. Exclude folds, openings and areas covered by another label. Then print a paper mock-up at the intended dimensions and place it where the finished sticker will sit.
A paper mock-up checks fit, not adhesive performance or print finish. It helps you reject an oversized design before proof approval, but it cannot establish how a printed sticker behaves on your chosen surface.
If your pack contains several shapes, give them a shared visual connection through artwork, type treatment or a repeated design element. They do not need identical dimensions to belong together.
- Circle: use for centered marks and compact compositions.
- Square: use when the layout benefits from straight edges.
- Die-cut: use when the silhouette is part of the design.
- Placement check: keep essential content away from folds and openings.
- Paper mock-up: inspect each shape on its intended surface.
3. Prepare artwork as a coordinated set
Use one approved source for shared elements such as your logo. Recreating the same mark separately for every sticker invites differences in spacing and proportions. Keep product-specific artwork separate from elements that must remain consistent.
Review readability at actual size. Small lettering that looks clear when enlarged on a monitor can become difficult to read on the finished piece. Simplify a crowded design rather than assuming a different finish will solve it.
Vinylstatus provides free online proofs and human artwork checks. Use that review to inspect the submitted designs, then check the business details yourself: spelling, product names, QR destinations and the relationship between each file and its intended shape.
For a 2026 product line, avoid adding the year to reusable artwork unless the sticker genuinely belongs to a dated campaign. A dated giveaway and an evergreen packaging mark have different reorder needs.
- Source artwork: keep one approved version of shared elements.
- Actual-size review: inspect lettering without zooming in.
- File naming: identify the design, shape and revision clearly.
- Proof approval: check every design rather than approving the set by appearance alone.
- QR testing: scan the code and confirm the destination before approval.
4. Choose finishes by use, not novelty
Finish should support the artwork and the way customers encounter it. Matte and glossy finishes differ in reflected light; holographic material introduces a changing visual effect. Compare those characteristics against the actual design rather than treating one finish as an automatic upgrade.
A coordinated pack does not require the same finish on every piece. However, mixing finishes adds another decision to proof review and makes physical sample comparisons more useful. Keep the choice deliberate: a decorative giveaway can have a different role from a packaging sticker carrying instructions.
Check product-specific finish options before building the artwork around them. Do not assume every shape and material combination follows the same ordering choices.
Choose readability first when the sticker carries instructions or a QR code. A striking surface effect does not compensate for information that customers struggle to see or scan.
- Matte: assess the artwork when reduced glare is the priority.
- Glossy: check reflected light at the intended viewing angle.
- Holographic: decide whether the visual effect supports the design.
- Shared appearance: compare the pieces together, not only individually.
- Functional content: keep instructions and QR codes easy to distinguish.
5. Calculate quantities from complete packs
Work backward from the number of finished packs you need. Count how many copies of each design go into one pack, then multiply each design separately. An equal quantity of every design only works when the pack uses equal quantities.
Consider a planning example: 120 packs containing 1 logo sticker, 1 product illustration and 1 QR-code sticker require 120 of each design, or 360 stickers total. If each pack instead needs 2 logo stickers, the requirement becomes 240 logo stickers plus 120 of each remaining design: 480 stickers total. These are assembly calculations, not ordering minimums.
Keep applied packaging stickers outside that calculation unless they are explicitly part of the pack. Otherwise, staff can consume giveaway inventory while preparing shipments.
For a 2026 launch, estimate demand from your own planned orders or event handouts. Separate any packing allowance from that baseline so the extra quantity remains visible.
- Pack count: record the number of complete sets required.
- Design count: multiply each sticker's use per pack separately.
- Packaging stock: separate applied labels from loose inserts.
- Packing allowance: add only the extra quantity you intentionally choose.
- Remaining stock: track usable quantities by design, not just total pieces.
6. Approve the order and plan assembly
Treat proof approval as a production decision, not a casual preview. Confirm the design, dimensions, shape and finish for every component. Then match the approved pieces against the pack brief so no required design disappears between planning and ordering.
Vinylstatus specifies two-business-day production after proof approval; shipping time is additional. Build your schedule around both stages rather than treating production time as the delivery date. Leave room in your own workflow for receiving, checking and assembling the stickers.
Printed stickers use split-back liners for easier peeling. That feature helps when applying stickers, but loose packs still need a clear assembly method so staff include the correct pieces.
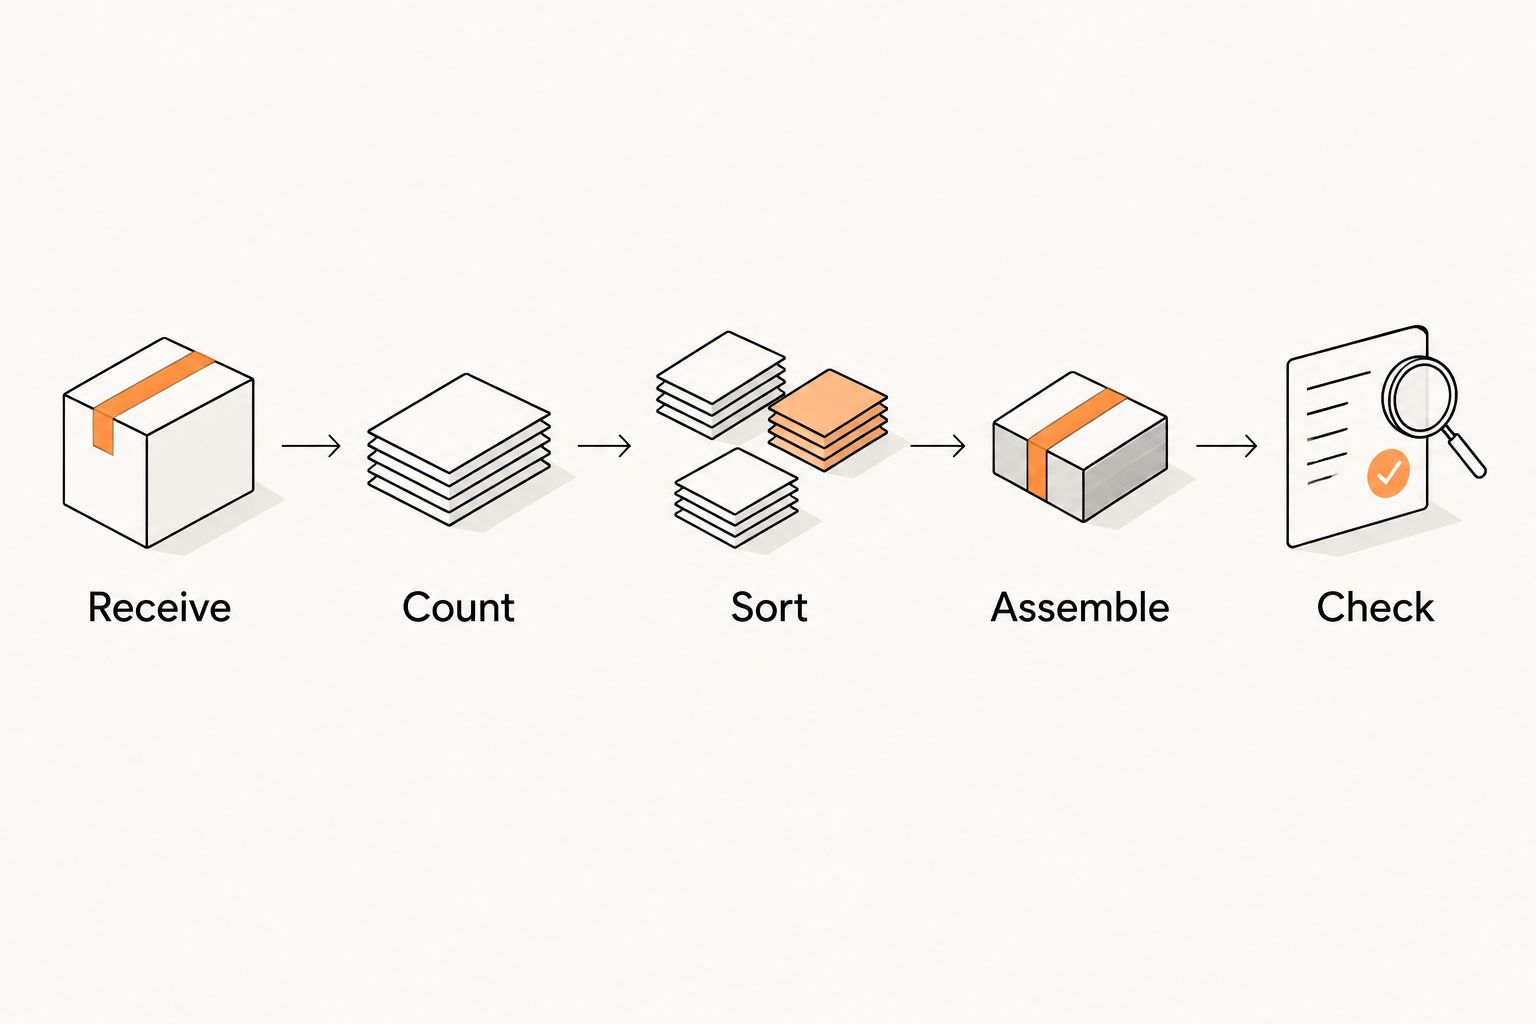
For each design, follow the same sequence: Receive, Count, Sort, Assemble, Check. Keep the first completed pack beside the work area as the physical reference.
- Receive the order and match its contents to the approved designs.
- Count each design before starting assembly.
- Sort components into separate, clearly identified groups.
- Assemble against one finished reference pack.
- Check completed packs for missing or duplicated pieces.
Compare sticker-pack structures before ordering
The best structure depends on whether the pack supports packaging, product recognition or a customer action. Compare the benefit with the work required to keep it useful. No format removes the need to check dimensions, artwork and quantities.
| Pack structure | Best for | Practical advantage | Key limitation |
|---|---|---|---|
| Shared logo plus product-specific artwork | A product line with distinct designs | Connects the business identity to individual products | Each product design needs separate review and stock tracking |
| Circle and square packaging set | Businesses labeling different flat packaging areas | Assigns a straightforward shape to each placement | A shape that fits one package can be unsuitable for another |
| Die-cut giveaway set | Illustration-led customer handouts | Makes the artwork silhouette part of the finished piece | Fine details need careful review at the ordered size |
| Artwork plus QR-code sticker | Packs with a specific next action | Separates the visual design from the scan function | The destination and physical scan both need checking |
| Holographic accent plus simpler pieces | Packs where one decorative design has a clear role | Creates contrast within the set | The effect does not suit every information-heavy design |
For a dessert business, custom stickers for dessert brands need separate jobs for product identification, outer packaging and customer giveaways. A sticker used to identify a flavor should not depend on the customer recognizing decorative artwork alone. Keep essential product information distinct from the collectible part of the pack.
The same distinction applies across small-business product lines: the piece that helps staff pack an order is not automatically the piece a customer wants to keep. Choose a shared visual system, then let each component serve its own purpose.
Common mistakes small businesses make with sticker packs
Ordering equal quantities when the pack ratio differs
A pack with two copies of one design consumes that design twice as quickly. Calculate by component, not by the number of designs. Otherwise, unused pieces accumulate while the missing component prevents you from completing another pack.
Treating each sticker as a separate design project
Individually attractive stickers can form an inconsistent set. Review the designs together at their intended sizes, with the actual packaging nearby. Check that shared elements remain consistent while product-specific details stay distinguishable.
Putting essential information on a loose giveaway
A loose sticker can leave the package immediately. Keep necessary packaging information in its intended place rather than assuming the customer will retain an insert. Giveaways should not carry the only explanation of how to identify or use the product.
Approving the image but not the order details
Correct artwork does not establish correct dimensions, quantities or finish. Compare every approved proof with the pack brief and quantity calculation. A clear design ordered for the wrong placement is still the wrong component.
Committing to assembly before checking the workflow
A pack that looks simple can still require repeated sorting and counting. Assemble a trial set using paper placeholders before finalizing the structure. If two similar designs are easy to confuse, improve the sorting method or simplify the pack.
FAQ
What’s the best way to start planning business sticker packs?
Start by assigning each sticker a specific job, such as packaging identification, product artwork or a giveaway. Then choose the shape, dimensions and quantity that support that job.
Should every sticker in a business pack have the same shape?
No, a business sticker pack can combine shapes when each one serves a clear purpose. Keep shared artwork elements consistent and check every shape against its intended placement.
How do I calculate sticker quantities for complete packs?
Multiply the planned number of packs by the number of each design used in one pack. Calculate applied packaging stickers separately if they are not part of the loose set.
Is a die-cut sticker better than a circle sticker for a logo?
Choose die-cut when the logo’s silhouette is part of the design, and circle when the artwork works within a centered round layout. Neither shape is automatically better; check readability and placement at the intended dimensions.
Can I include a QR-code sticker in a business pack?
Yes, include a QR-code sticker when it leads to a defined customer action. Check the quiet zone, contrast, dimensions, placement and a real scan before approving the artwork.
How long does Vinylstatus sticker production take?
Vinylstatus specifies two-business-day production after proof approval, with shipping time additional. Plan receiving, checking and pack assembly separately from those stages.
Do I need matching finishes across the whole sticker pack?
No, matching finishes are not required for a coordinated pack. Choose each finish for its role, and review the pieces together so the differences look intentional.
One last thing
Your least-stocked required design determines how many complete packs you can assemble. A large pile of remaining stickers is not the same as usable pack inventory. Track the next reorder by the component that limits complete sets, not by the combined total in storage.
Before placing a 2026 order, build one full-size paper pack and move it through your normal packing process. That simple rehearsal checks fit, sequence and completeness without pretending to test the finished material.
Related guides