

Custom die cut stickers for swag bags and merch tables
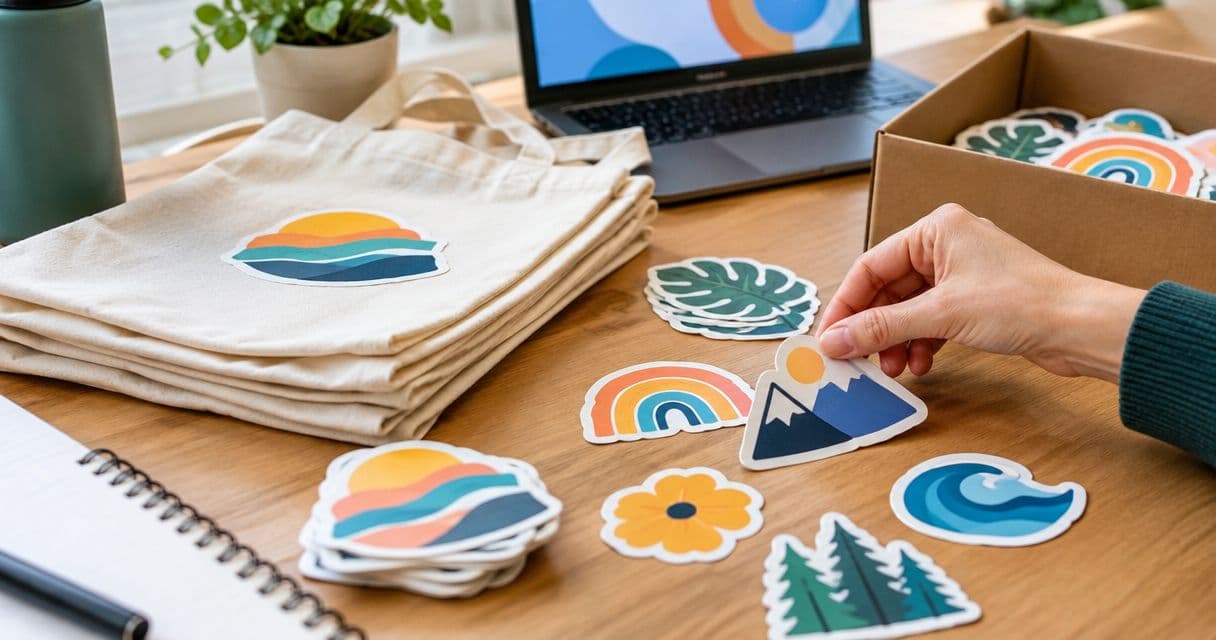
Small-business merch stickers are custom-printed designs cut around your artwork to give event visitors a recognizable takeaway or a product to buy. For custom die cut stickers for merch, start with free online proofs and human artwork checks at Vinylstatus, then choose artwork, dimensions, and quantities around how you will distribute them.
- Vinylstatus custom die cut stickers for merch suit small businesses ordering from their own artwork.
- Choose separate designs for swag bag giveaways and standalone merch when their jobs differ.
- Approve the artwork, dimensions, and cut line before production; shipping time is additional.
- Base quantities on planned distribution, not attendance alone or an attractive quantity break.
Why custom stickers matter for small-business merch
A swag bag sticker and a sticker on a merch table have different jobs. The first arrives inside a bundle; the second needs to earn attention beside your other items. Treating both as the same order leaves you without a clear design brief or distribution plan.
Vinylstatus custom die-cut stickers are best for small businesses bringing their own artwork to packaging, swag bags, and merch tables. The ordering decision still rests with you: the printer checks artwork, but you decide whether the finished design serves your audience.
For your 2026 event plan, separate what the sticker must communicate from everything you would like to include. A recognizable logo, readable phrase, and useful shape often compete for the same small surface. Decide which one leads before you upload a file.
Plan your custom die-cut sticker order
Define the sticker’s job before designing
Write a short brief in a document or on paper before opening design software. Name the recipient, the distribution point, and the action you want: remember your business, recognize your community, or choose a standalone merch item.
For swag bags, consider how the sticker will appear among inserts and other merchandise. For a merch table, consider whether the artwork makes sense without someone explaining it. A logo-only sticker suits a different purpose from an illustrated design intended to stand on its own.
Best for a first event order: choose one primary job rather than asking a single sticker to carry every message. Multiple designs create additional decisions about inventory, packing, and display. Add them only when each design has a distinct purpose.
- Name the audience in the brief.
- Mark the order as giveaway, resale, or both.
- Choose the main message before adding details.
- Record where recipients will encounter the sticker.
- Assign someone to approve the final design.
Test the size on real bags and table displays
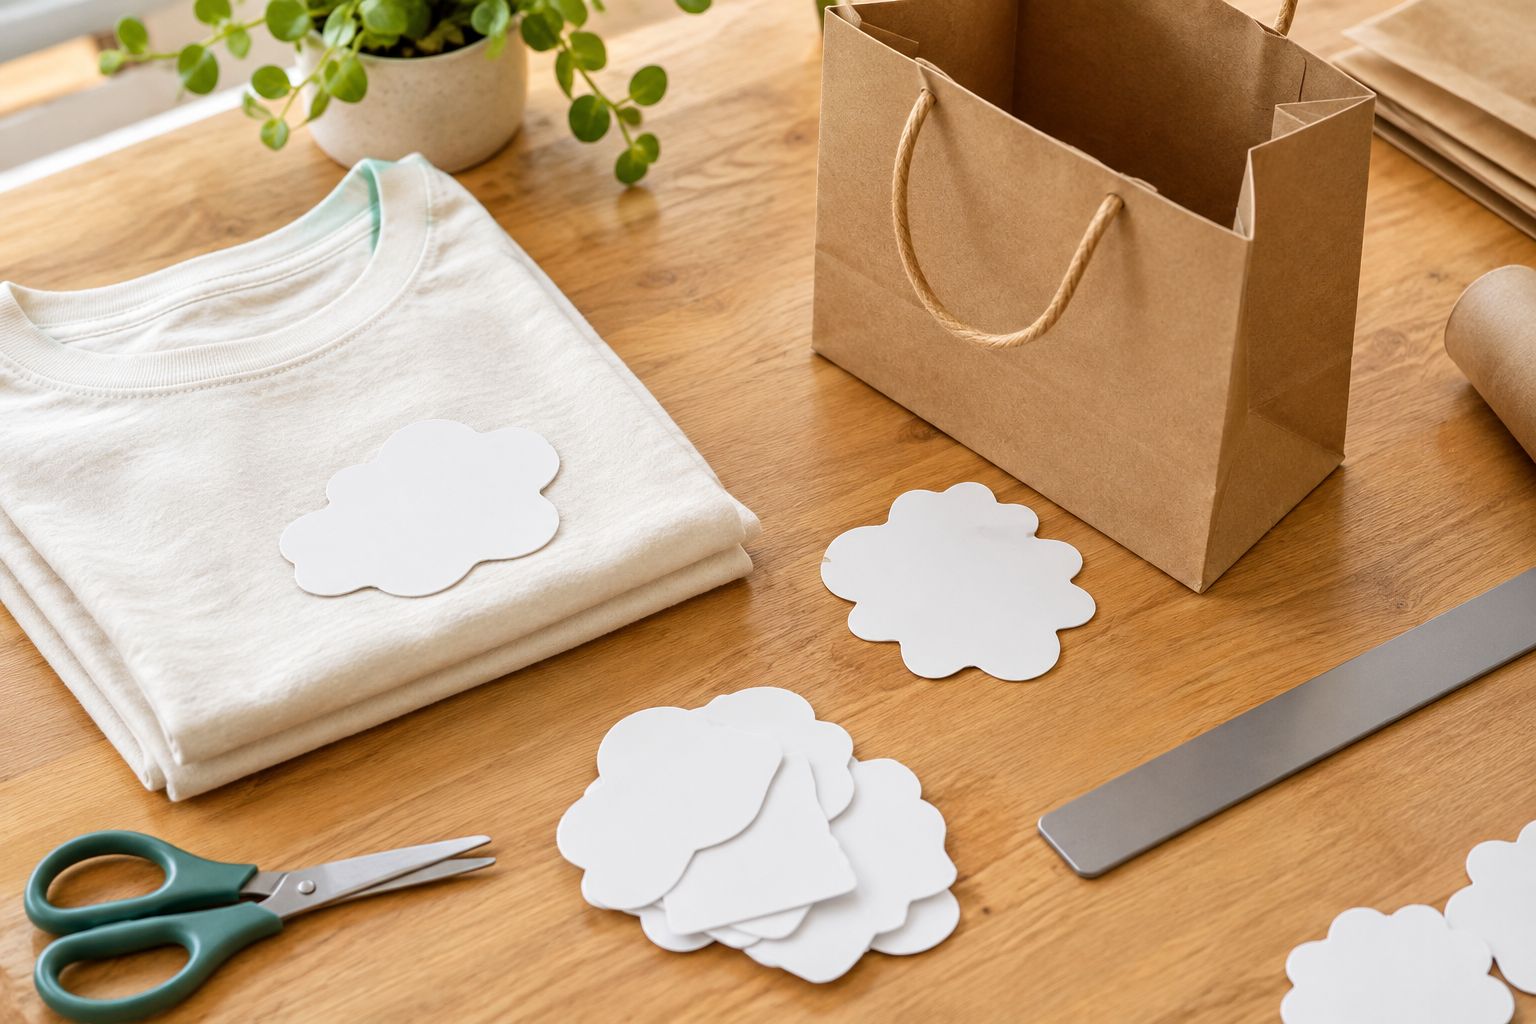
Print your artwork on ordinary paper at its intended dimensions. Cut around the outline and place the sample inside an actual swag bag, beside your merchandise, and on your display surface. A screen preview does not show how the sticker competes with nearby objects.
Use 1 paper mockup for each proposed size. This is a planning check, not a printed-product sample: it tests scale and placement, not the final material, adhesive, or finish. Keep those checks separate.
Read the design from 2 positions: in your hand and from the shopper’s side of the table. You do not need every detail readable at a distance, but the main graphic should remain identifiable. If small text fails in hand, simplify it before increasing the whole sticker.
- Print at actual size, without page scaling.
- Measure the artwork’s outermost width and height.
- Check the sample against the bag opening.
- Place it beside your other merch.
- Remove details that disappear at the chosen dimensions.
Simplify the artwork and cut line
Start by checking your original artwork file. Look for a clear outline, readable lettering, and details that still work at the size you tested. Use the artwork requirements provided during ordering rather than guessing file settings from a generic printing checklist.
Vinylstatus offers human artwork checks and free online proofs. Use those checks after you have established the design’s purpose and dimensions; they do not replace your decision about what belongs on the sticker.
For die-cut artwork, inspect the proposed cut line as carefully as the printed image. A narrow extension or complicated edge deserves a closer look because it changes the physical shape you will handle and pack. Ask for clarification if the proof does not make the boundary clear.
- Supply the clearest original artwork you have.
- Remove background elements you do not want printed.
- Check spelling, punctuation, and logo proportions.
- Inspect thin details near the outer edge.
- Confirm the intended border and cut line.
Choose the finish around the artwork
Compare your design’s needs before choosing between matte, glossy, or a reflective effect such as holographic. Matte and glossy finishes change how light reflects from the surface; a holographic effect becomes part of the design rather than simply sitting behind it.
Best for text-led artwork: prioritize readability over the finish effect. For an illustration-led giveaway, decide whether the effect supports the image or distracts from it. Do not assume that every finish is offered with every format; check the current ordering choices.
For your 2026 merch display, consider the lighting where people will examine the stickers. A digital proof shows the artwork layout, not a dependable physical demonstration of sheen or reflection. If the finish is central to the purchase, resolve that question before approving production.
- Compare light and dark areas in the artwork.
- Identify text that needs strong contrast.
- Consider overhead lighting at the table.
- Check which finishes apply to your chosen format.
- Separate artwork approval from finish expectations.
Calculate quantities from your distribution plan
Use a spreadsheet or a written tally to separate committed distribution from uncertain demand. Count planned swag bags first. Then add stock for table giveaways or resale, plus any specific staff, photography, or replacement allocation you actually need.
A useful calculation is: order quantity equals committed bag allocation plus planned table stock plus a defined reserve. These are your planning figures, not an attendance forecast. Do not turn every possible visitor into a guaranteed sticker recipient.
For a 2026 event series, record which artwork is reusable and which contains event-specific information. Undated artwork gives you more flexibility to carry stock into another event. That flexibility does not justify ordering more than your distribution plan supports.
- Count stickers assigned to confirmed bags.
- Keep giveaway stock separate from resale stock.
- Define the reserve by its intended use.
- Record how stock will be split between events.
- Reconcile leftovers after each event.
Approve the proof and schedule backward
Review the online proof against your written brief, not just against the uploaded file. An accurate reproduction of the wrong version is still the wrong order. Check the final dimensions, spelling, border, orientation, and cut line together.
Vinylstatus states two-business-day production after proof approval; shipping time is additional. Production time is not arrival time. Build your schedule around the date you need the stickers in hand, with time to review the proof and request corrections before production begins.
For a 2026 event deadline, put 3 checkpoints on your calendar: proof approval, expected arrival, and packing. Confirm the applicable production and delivery details for your order before committing your event packing schedule. Keep the approved artwork version with the order record.
- Assign one final proof approver.
- Compare the proof with the actual-size mockup.
- Check the cut line and finished dimensions.
- Separate production timing from shipping timing.
- Set a packing date before the event.
Pack and display the stickers by purpose
Count and sort your stickers before starting the swag bag assembly line. Use a packing checklist so each bag receives the intended design and quantity. Keep the table allocation apart from the packing allocation to prevent accidental double counting.
Printed stickers use split-back liners for easier peeling. The liner helps the recipient separate the sticker from its backing, but it does not replace application instructions or establish suitability for every surface. Avoid making surface or durability promises that your order details do not support.
At the merch table, show the artwork clearly and distinguish giveaways from items offered for sale. Keep a sample visible without forcing visitors to handle every sticker in the stack. After the event, count what remains before deciding on another order.
- Separate bag stock from table stock.
- Check the contents of a completed bag.
- Display a clear example of each design.
- Keep reserve stock apart from open stacks.
- Record remaining quantities by design.
Compare sticker options for your event
Choose the option around the distribution job, not around a general claim that one format is better. The table compares practical uses and limitations; it does not assume that every format or finish combination is offered together.
| Option | Best for | Practical advantage | Key limitation |
|---|---|---|---|
| Logo die-cut sticker | Branded swag bags and packaging | Follows the artwork’s outline and keeps the logo central | A logo alone does not explain an unfamiliar business |
| Illustration-led die-cut sticker | Standalone merch and audience-specific giveaways | Gives the artwork room to be the main attraction | Needs a design that works without a spoken explanation |
| Circle or square sticker | Artwork built around a regular boundary | Provides a predictable frame for a compact layout | Does not follow an irregular illustration’s silhouette |
| Holographic sticker | Designs where reflection is part of the visual idea | Adds a changing reflective effect | The effect needs consideration alongside text contrast |
| QR-code sticker | Directing recipients to a specific online destination | Connects a physical handout to a chosen page | Needs a clear quiet zone, suitable contrast, and real scan testing |
For QR-code artwork, the destination is part of the order decision. Test the code at the intended printed size and keep decorative elements out of its quiet zone. A scannable code does not explain why someone should use it; the surrounding message still needs a purpose.
Common mistakes small-business merch buyers make
Ordering from attendance alone
Attendance is not a distribution plan. Some visitors receive a bag, some stop at the table, and some do neither. Build the order from the channels you control, then track actual distribution for your next event.
Shrinking a complete business card into a sticker
A website address, tagline, service list, social handles, and detailed logo can crowd a small design. Choose the information that serves the sticker’s job. Move supporting information to an insert when it does not need to remain on the sticker.
Approving only the picture
The printed image is only part of a die-cut order. Dimensions, border, and cut line determine the object you receive. Check the entire proof instead of approving because the colors and logo look familiar.
Treating production as the delivery deadline
Production starts after proof approval, and shipping takes additional time. Work backward from your packing date rather than the event opening. Leave room to resolve artwork questions before the order reaches production.
Mixing giveaway and resale inventory
A single untracked pile makes it hard to know whether you sold stock or handed it out. Separate the allocations before the event. Your next order needs a distribution record, not a guess based on an empty box.
FAQ
What are the best custom die cut stickers for merch tables?
The best choice is a design that works at its printed size and makes sense without an explanation. Use logo-led artwork for brand recognition or illustration-led artwork when the design itself is the merchandise.
Should I use the same sticker for swag bags and paid merch?
Use the same sticker only when it serves both purposes. Separate designs make sense when the giveaway needs to identify your business but the paid item needs to stand on its own.
How big should my die-cut merch stickers be?
Choose dimensions by testing an actual-size paper mockup against your bag, display, and artwork. Check the main graphic and small text before approving the final size.
How many custom stickers should I order for an event?
Add your committed swag bag allocation, planned table stock, and a reserve with a defined purpose. Do not use total attendance as a substitute for a distribution plan.
Does two-business-day production include shipping?
No. Production takes place after proof approval, and shipping time is additional. Confirm the timing applicable to your order and schedule arrival before your packing date.
Can I put a QR code on a merch sticker?
Yes, but the printed-size design needs scan testing. Protect the quiet zone, maintain contrast, and check that the code opens the intended destination before approving the artwork.
What should I check on a die-cut sticker proof?
Check spelling, dimensions, artwork version, border, orientation, and cut line. Compare the proof with your actual-size mockup and resolve questions before approval.
One last thing
Keep a finished sticker with its approved proof and distribution record. For your next 2026 order, that small reference set lets you compare the intended design, the physical result, and how much stock you actually used. Reorder from the record, not from memory.
Related guides