

Custom stickers for food packaging: sizes and finishes that hold up
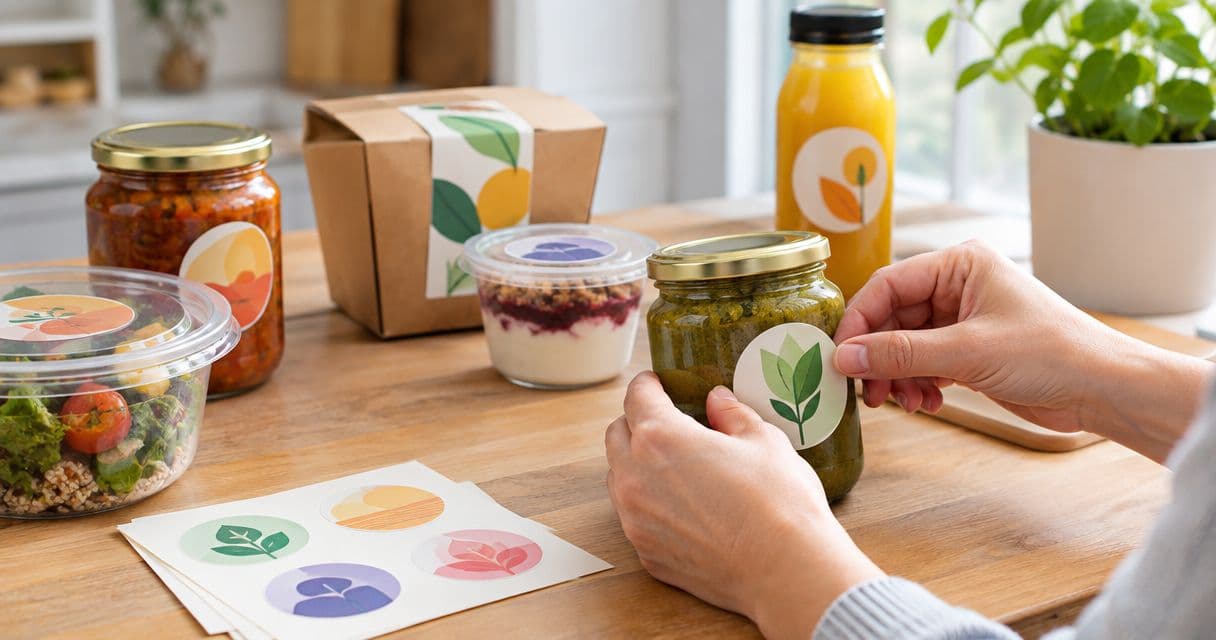
Food-business packaging stickers are custom-printed labels used on boxes, bags, jars, and other containers to identify your product and present your brand. Choose custom stickers for food packaging around the actual surface, storage conditions, and handling—not just the logo; food packaging also needs room for required product information.
- Vinylstatus suits small businesses ordering custom stickers for food packaging from their own artwork.
- Test sticker size on the filled container before approving artwork or ordering in bulk.
- Choose matte versus glossy for readability and appearance; confirm material suitability separately.
- Use packaging stickers outside food-contact areas unless the complete application has documented approval.
- Separate proof approval, production, and shipping when planning packaging deadlines.
Why sticker choices matter for food businesses
A sticker that looks right on a screen still has to fit a curved jar, stay readable on a bag, and work with your packing routine. Refrigerated containers add another question: what happens when the surface becomes damp?
Choose the application before choosing the finish. Matte and glossy describe appearance; neither word alone establishes adhesive suitability, food-contact approval, or performance in a refrigerator.
Vinylstatus offers custom printed stickers from your artwork. Treat free online proofs and human artwork checks as artwork-review tools, not substitutes for testing your container. For a 2026 packaging order, settle the placement, required information, and handling conditions before committing to a bulk quantity.
How to choose and order food-packaging stickers
1. Define the sticker’s job
Start with a spare container and write down what the sticker must accomplish. A bakery logo on a takeaway box has a different job from a jar label carrying product information. Trying to make one small sticker do everything usually creates crowded artwork.
Separate branding from any required food labeling. Requirements vary by product and sales channel, so check the applicable rules before approving the design. A QR code should not be treated as an automatic replacement for information that must appear on the package.
For your 2026 packaging plan, assign each sticker a specific job:
- Brand identification: show the business name or recognizable logo.
- Product identification: distinguish the flavor, variety, or item.
- Customer information: reserve readable space for applicable details.
- Promotion: send customers to a relevant page with a tested QR code.
- Closure: bridge an opening only after checking opening behavior.
2. Measure the usable surface
Measure the flat area available after the container is filled and closed. Avoid treating the full lid diameter or box width as usable space: rims, folds, seams, and curves affect placement.
Cut paper mockups before opening a design file. For example, compare a 2-inch circle with a 3-inch circle on the same container. These are sizing examples, not standard recommendations; choose the smallest mockup that keeps the intended information readable and stays within the usable area.
A wider sticker also reaches farther around a curved container. Check the front-facing view rather than judging the design only while holding the container close to your eyes.
- Measure the usable width and height, excluding seams and raised edges.
- Place paper mockups on a filled, closed package.
- Check whether corners cross folds or curved shoulders.
- View the package as a customer would receive it.
- Photograph the preferred placement for your packing instructions.
3. Match the shape to the package
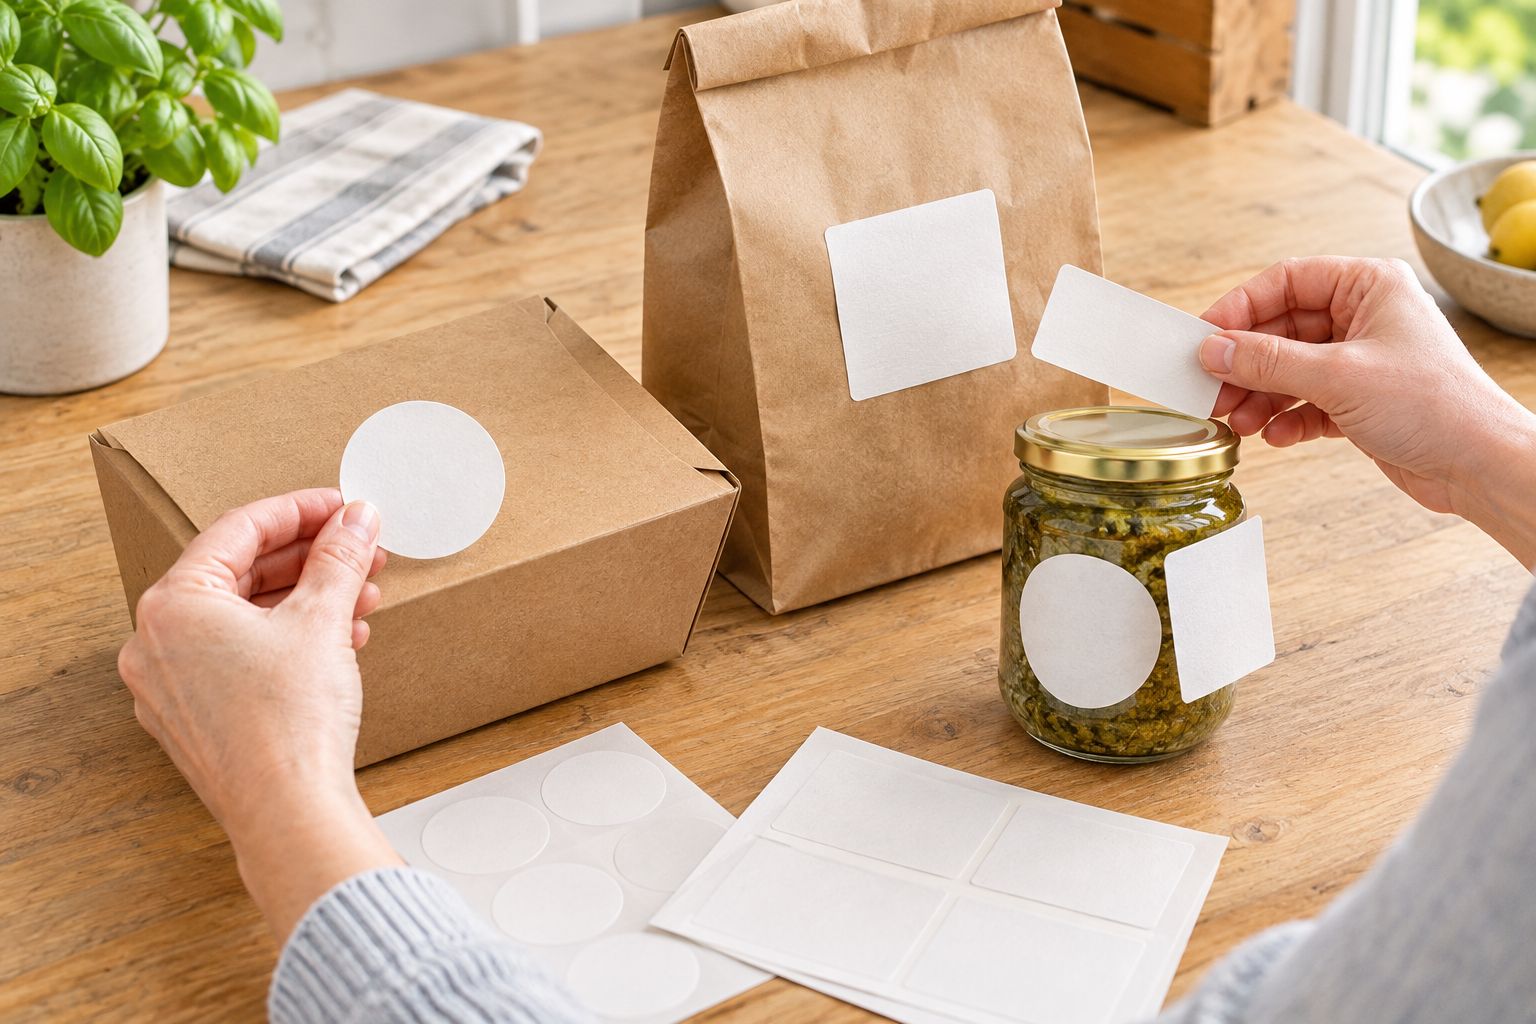
Choose the shape after measuring, not before. Circle and square stickers create straightforward layouts; die-cut stickers follow the artwork outline. Each option still needs a workable size and placement.
A detailed die-cut logo can leave less room for supporting text than a simpler shape occupying the same area. If your artwork contains narrow projections or small lettering, ask for an artwork check before approval.
Vinylstatus offers circle, square, and die-cut formats, so choose between them by the packaging task rather than treating the shapes as interchangeable. For a 2026 range with several products, keep the brand placement consistent while leaving room to distinguish each item.
- Choose a circle when the artwork and usable space both suit it.
- Choose a square when the layout benefits from a regular boundary.
- Choose die-cut for an outline-led logo, not extra information space.
- Keep essential text away from the cut edge.
- Check that the shape does not make application awkward.
4. Choose the finish and test the conditions
Use matte versus glossy to decide how the artwork should look under your actual lighting. Glossy surfaces create reflections; matte surfaces reduce the glossy appearance. Check the printed information from different angles rather than assuming either finish always reads better.
Then assess durability separately. Ask about the specific material, adhesive, and intended surface. A sticker described as vinyl does not, by itself, establish suitability for freezing, hot filling, oily surfaces, direct food contact, or every packaging material.
Apply a representative sample to the same container under the same conditions your team will use. Follow the application instructions, then expose the package to its intended storage and handling cycle. A finish choice is not a performance test.
- Confirm the container material and whether application happens before chilling.
- Check the surface for moisture, oil, dust, and texture.
- Inspect edges after the normal storage and handling cycle.
- Read small text under the lighting used at packing and pickup.
- Test QR codes on the finished, filled package.
5. Prepare the artwork and approve the proof
Build the file around the chosen dimensions. Enlarging a small image does not restore missing detail, and shrinking a crowded design does not make it readable. Use clear artwork and follow the printer’s file instructions.
For a 2026 artwork refresh, remove obsolete seasonal messages and confirm the correct product version before uploading. Ask for the offered free online proof and human artwork check for your selected sticker. Review spelling, cut shape, margins, and orientation yourself before approval.
An online proof helps confirm layout. It does not recreate the feel of the finished material or prove how the adhesive performs on your packaging.
- Check the business name, product name, and every supplied detail.
- Confirm the final dimensions and cut outline.
- Review margins around lettering and important artwork.
- Scan the actual QR destination and check the landing page.
- Record who approves the proof and which file is final.
6. Set the quantity and packing schedule
Count the packages you expect to use while the artwork remains current. Multiply that count by the stickers required per package, then add only a reasoned allowance for setup and handling losses. Keep giveaways separate from packaging demand so the order has a clear purpose.
For example, 200 boxes × 1 sticker per box = 200 stickers before any allowance. This is an ordering example, not a suggested minimum. If flavors require different artwork, calculate each version separately rather than dividing the total evenly without checking demand.
Before ordering, contact Vinylstatus to confirm the selected format’s production schedule, liner, and manufacturing details. Check whether the stated two-business-day production after proof approval applies to your order; shipping time is additional. Confirm split-back liners and made-in-the-USA production for the selected printed sticker rather than assuming every format has identical specifications.
- Count packaging demand by artwork version.
- Include a justified allowance rather than an arbitrary surplus.
- Separate proof approval, production, and delivery dates.
- Check how staff will peel and apply the selected format.
- Set a reorder point before the remaining stock becomes urgent.
Compare sticker options for food packaging
The best fit depends on the job. Shape, finish, and artwork features are separate decisions: a circle can use a QR design, and a die-cut outline still needs an appropriate finish and adhesive.
Use this comparison to narrow the order, then confirm the chosen combination. No option replaces a real packaging test.
| Option | Best for | Practical advantage | Key limitation |
|---|---|---|---|
| Circle sticker | Compact branding on a suitable flat area | Gives a logo a regular boundary | Leaves limited room for long supporting information |
| Square sticker | Layouts arranged in a regular block | Makes it straightforward to organize text and artwork | Corners need careful placement near folds and curves |
| Die-cut sticker | Logos whose outline is part of their identity | Follows the artwork shape | Detailed outlines need careful size and cut review |
| Matte finish | A less reflective appearance | Avoids a glossy surface effect | Does not establish moisture or adhesive performance |
| Glossy finish | Artwork intended to have a shiny appearance | Gives the surface a reflective finish | Reflections need checking around small text and QR codes |
| QR-code artwork | Connecting a package to a relevant online page | Adds a scannable route to digital information | Needs contrast, clear space, and testing on the actual package |
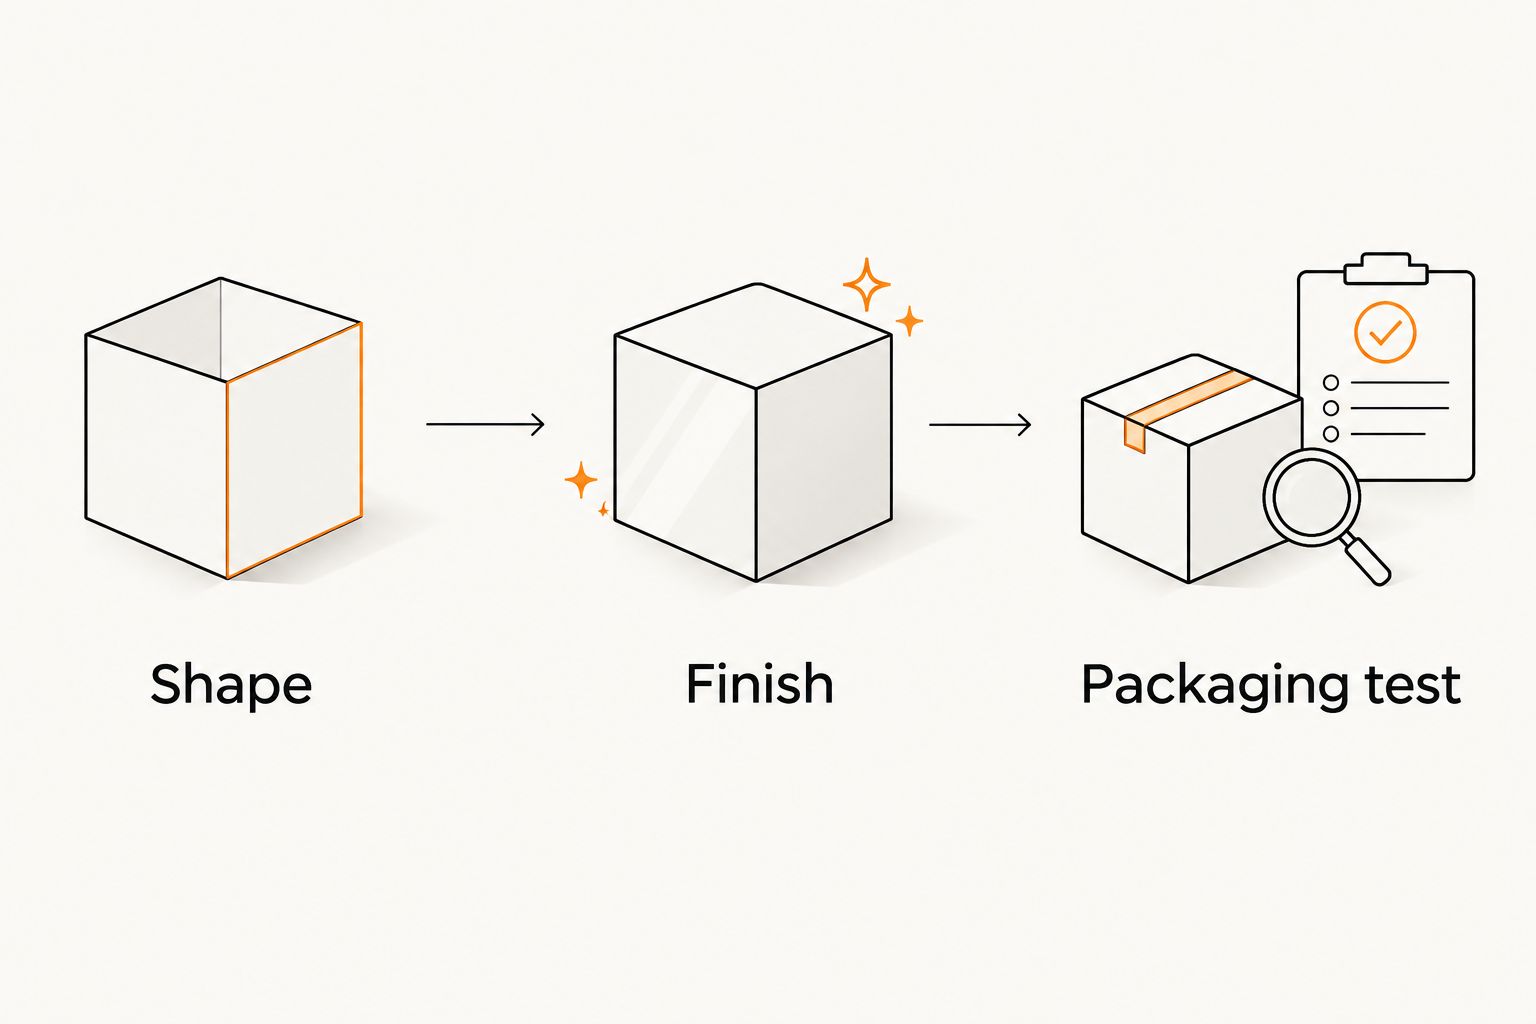
For custom stickers for food packaging, Vinylstatus provides several shape choices from your own artwork. The benefit is control over the design; the limitation is that artwork choice alone cannot establish compatibility with your container or storage conditions.
Common mistakes food businesses make
Using the sticker as an unverified food-contact surface
A branding sticker on the outside of a closed package is a different application from adhesive touching food. Keep stickers and exposed adhesive away from food-contact areas unless you have documentation covering the complete intended use. Do not interpret a material name as a food-contact approval.
Applying to a cold or damp container without testing
A dry-container test does not answer what happens during your actual packing process. If staff apply stickers after chilling, test that sequence specifically. If application instructions require a clean, dry surface, change the workflow rather than expecting the finish to solve the problem.
Calling an ordinary closure tamper-evident
Bridging a bag fold or box opening does not automatically create a verified tamper-evident seal. Check whether opening produces a visible, irreversible change and whether the closure meets your requirements. Keep branding and security claims separate.
Ordering a large quantity before checking every variant
A single approved logo does not confirm that every flavor name or product description fits. Check the longest text and the smallest required details on each version. For seasonal 2026 artwork, base the quantity on the selling window rather than the appeal of a larger order.
FAQ
What size sticker should I use on food packaging?
Use the size that fits the package’s usable surface and keeps the intended information readable. Compare paper mockups on a filled, closed container before choosing the final dimensions.
Are matte or glossy stickers better for food packaging?
Choose matte or glossy for appearance and readability, then check material suitability separately. Test reflections, small text, and QR codes under your actual lighting; neither finish name establishes adhesive or moisture performance.
Can I put a custom sticker directly on food?
Do not place a custom sticker directly on food unless the complete application has documented approval for that use. Exterior packaging placement is a different application from direct food contact.
Will vinyl stickers work on refrigerated food containers?
Confirm the specific sticker material, adhesive, and application conditions before using it on refrigerated containers. Test the same container through your normal application, chilling, and handling sequence rather than relying on the word vinyl.
Can a QR-code sticker replace the information on my food label?
Do not assume a QR-code sticker replaces information required on the package. Check the rules for your product and sales channel, then use the code for appropriate additional information.
How many food-packaging stickers should a small business order?
Calculate expected packages by artwork version and multiply by the stickers used on each package. Add a justified handling allowance and avoid stock that will become obsolete when product details or seasonal artwork change.
Does production time include shipping?
Production time and shipping time are separate. Confirm when production starts after proof approval, the schedule for the selected format, and the delivery time needed for your packaging deadline.
One last thing
Test the opening, not just the placement. Fill and close a package, apply the mockup or sample, and open it the way a customer will. If the sticker hides useful information, tears across essential text, or makes the package awkward to use, move it before approving the bulk order.