

How to order custom stickers online: artwork to approval
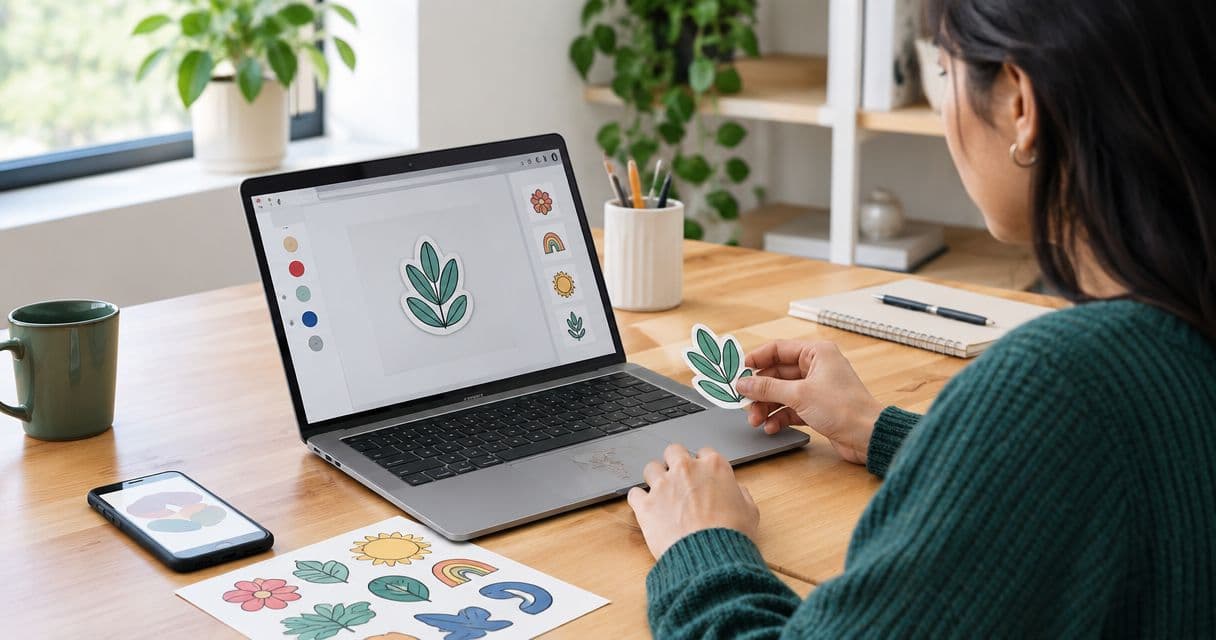
To order custom stickers online, choose the intended use, shape, size, finish and quantity, then upload your artwork and review the proof before approving production. Check the final dimensions, cut line, spelling and small details yourself; artwork checks do not replace your approval of the printed design.
- Vinylstatus fits small businesses ordering custom logo stickers from their own artwork.
- Learning how to order custom stickers online starts with placement, finished size and a useful quantity.
- Approve the artwork, dimensions and cut line together; a clean-looking upload is not final approval.
- Separate production after proof approval from shipping time when planning your delivery date.
Why this matters
A sticker order can look correct on screen and still miss its purpose. A logo becomes unreadable at packaging size, an intricate outline makes placement awkward, or an outdated QR destination sends customers to the wrong page.
Vinylstatus fits small businesses ordering custom logo stickers from their own artwork. Start with the Vinylstatus ordering options, but decide what the sticker needs to accomplish before choosing its appearance. Free online proofs and human artwork checks belong in that decision process, not after you have committed to an unchecked design.
For a 2026 packaging order, write down the intended surface, finished dimensions, artwork version and required arrival date. That short brief gives everyone reviewing the proof the same instructions.
How to order custom stickers online: artwork to approval
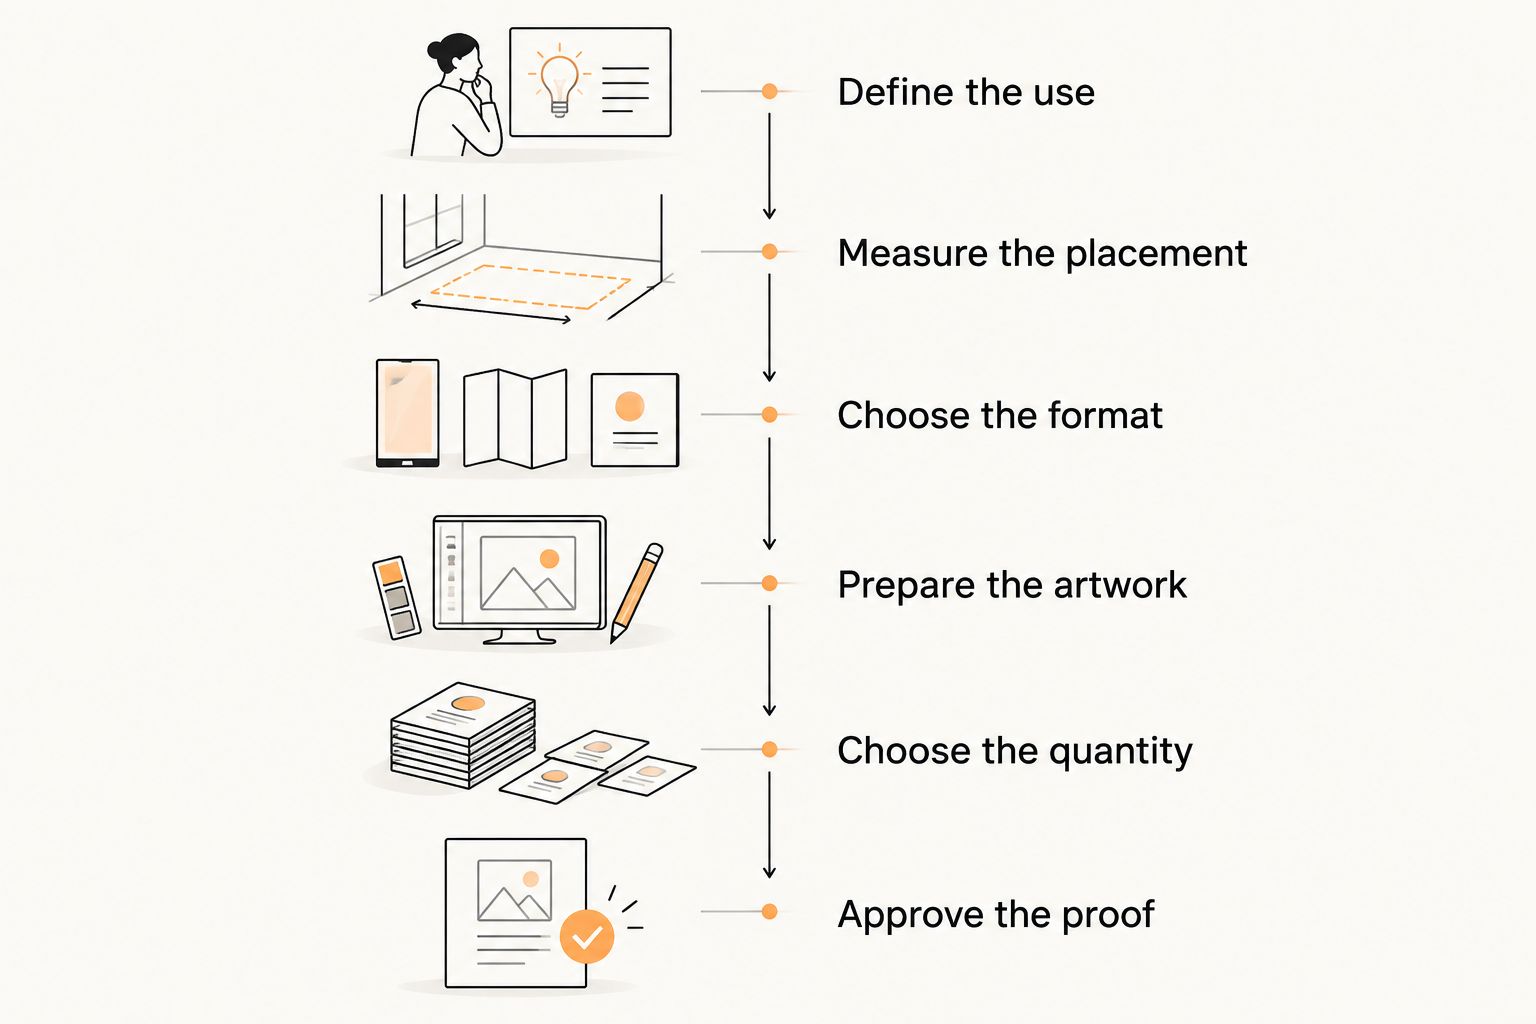
Follow this sequence so each decision supports the next. Do not choose a large quantity before checking whether the design works at its actual size.
- Define the use. Decide whether the sticker identifies packaging, seals a wrap, promotes a business or directs customers to a page.
- Measure the placement. Check the available space on the actual box, bag, container or giveaway surface.
- Choose the format. Match the shape and finish to the artwork and placement rather than choosing an effect first.
- Prepare the artwork. Use a clean source file and check small text, image quality, borders and intended background.
- Choose the quantity. Base the order on expected use and a defined reorder point, not an attractive unit rate alone.
- Review and approve the proof. Confirm the artwork, finished dimensions and cut line before production begins.
Keep a record of the approved version. When a colleague requests a change, update that record rather than leaving conflicting instructions across messages and files.
Choose a sticker format that suits the job
Shape, surface effect and scan function are different decisions. A die-cut sticker describes an outline; holographic describes a visual effect; a QR code describes what the artwork does. Do not treat these as interchangeable options.
Use this comparison to narrow your brief. The trade-offs describe design and handling considerations, not a promise about a particular product's performance.
| Format or feature | Best for | Practical advantage | Limitation to check |
|---|---|---|---|
| Die-cut | Logos with a distinctive silhouette | Follows the artwork's outline | Narrow details and complicated edges need careful proof review |
| Circle | Round badges and centered logos | Gives a clear, consistent boundary | Wide artwork can leave unused space or need rearranging |
| Square | Structured layouts and block-shaped logos | Provides space for aligned text and graphics | Tight placement makes alignment errors more visible |
| Holographic | Artwork designed around a reflective effect | Makes the material part of the design | Fine text and low-contrast details need extra attention |
| QR-code artwork | Packaging that directs customers to a specific page | Connects a physical item to an online destination | Requires suitable contrast, clear space and scan testing |
Choose the simplest format that preserves the design's purpose. A plain shape with readable artwork is a sounder ordering decision than an elaborate outline that crowds the logo.
Decide between matte and glossy deliberately
Matte and glossy finishes change how light interacts with the surface. Matte reduces glare; glossy reflects more light. Neither finish fixes low-resolution artwork or text that is too small.
Consider the setting where someone will read or photograph the sticker. If you are choosing a finish for a 2026 packaging update, assess the artwork under lighting similar to its intended use, rather than judging only the screen preview.
Prepare artwork at the finished size
Start with the original artwork whenever possible. A screenshot, social-media download or enlarged thumbnail can carry compression artifacts that become visible in print.
Vector artwork keeps lines and shapes scalable, but placed photographs inside a vector file still depend on their resolution. For raster artwork, 300 pixels per inch at the intended print size is a common print-preparation target, not a guarantee that every source file will print cleanly. Follow the selected product's file requirements.
Check these details before uploading:
- Small text: Inspect contact details, taglines and thin lettering at actual size.
- Background: Decide whether the background belongs in the design or should be removed.
- Borders: Check whether a narrow border makes small cutting variations more noticeable.
- Cut line: Make sure the intended outline is clear, especially around separate elements.
- Color: Use the printer's requested color setup; a lit screen is not a printed color sample.
- Version: Remove obsolete phone numbers, offers, web addresses and artwork layers.
Name the file so the business, design and version are distinguishable. A filename identifying the approved 2026 packaging artwork is more useful than several files all called final.
Do not assume transparent areas, white areas and unprinted material mean the same thing. Make the intended result explicit when submitting artwork, particularly when a material effect forms part of the design.
Check size on the actual packaging
A size chosen from a screen preview has no relationship to the space available on your package. Measure the usable flat area, then place a paper outline of the intended sticker there.
Look beyond whether the outline fits. Check folds, seams, closures, curvature and any product information the sticker would cover. A sticker intended as decoration needs a different placement decision from one intended to bridge a packaging closure.
Test the handling sequence too. If staff apply the sticker after packing, make sure they can reach the chosen position without reopening or rotating an awkward package.
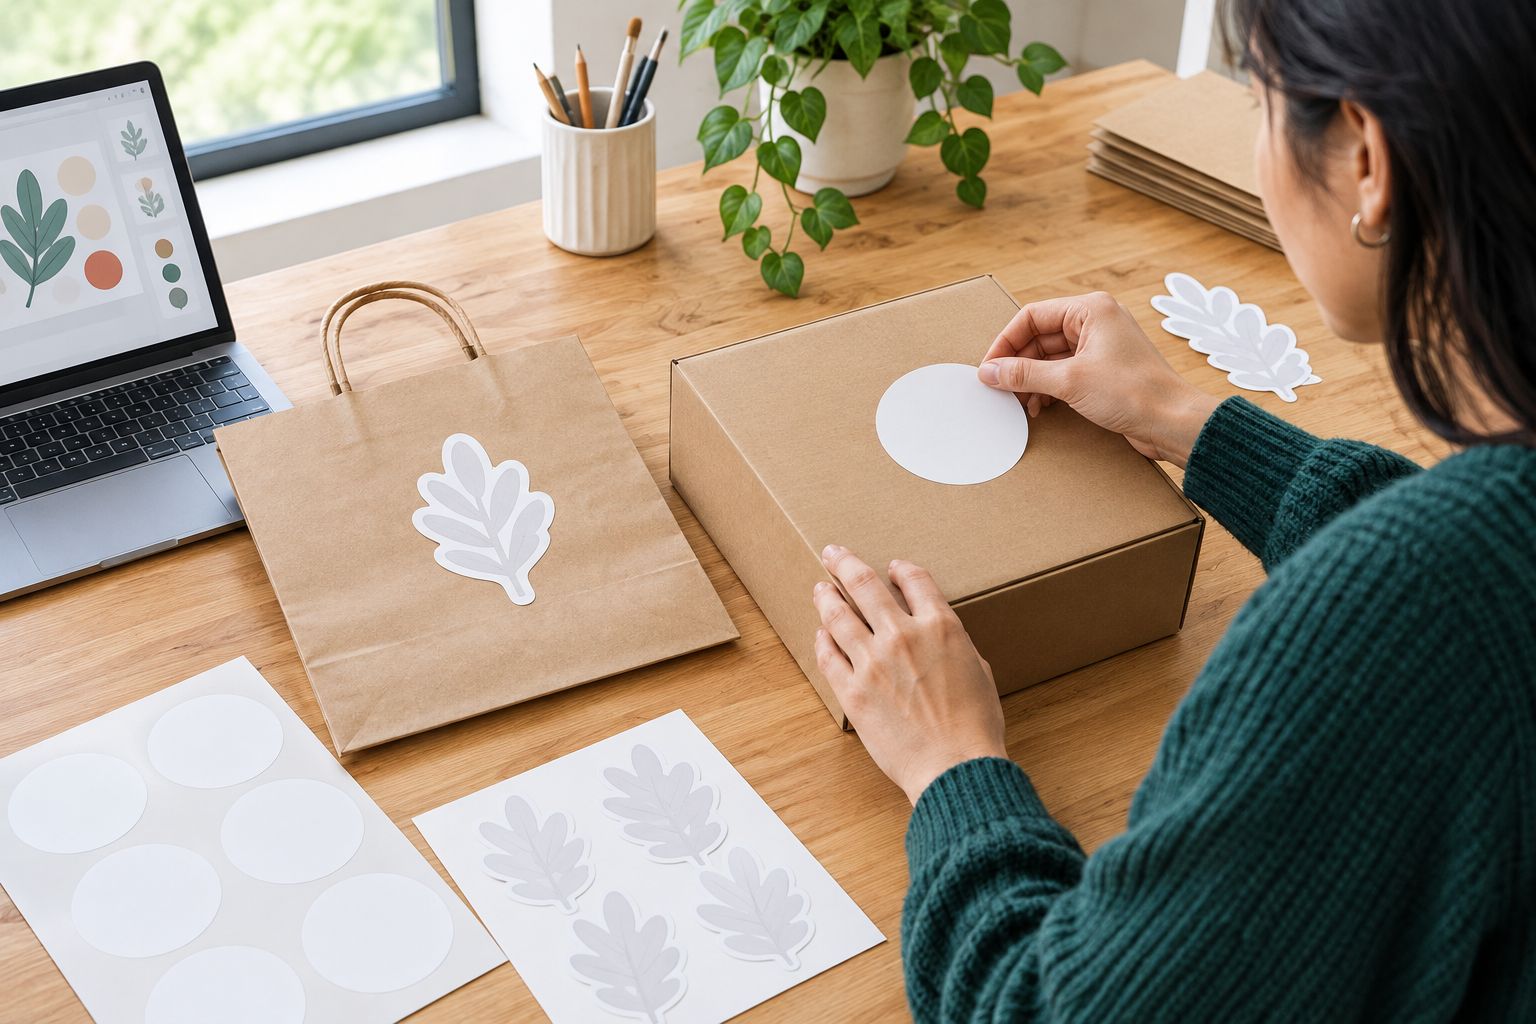
A paper template checks size and positioning. It does not establish adhesive compatibility, finish or durability, so keep those questions separate from the fit check.
Why custom sticker order requirements vary
Different jobs need different preparation because the artwork, surface and handling conditions change. Use these factors to explain your requirements before approving the order:
- Artwork detail: Fine lettering and intricate edges need more scrutiny at the finished size.
- Placement surface: Curves, texture and seams affect where a design can sit flat.
- Material and finish: A reflective effect or glossy surface changes how you assess readability.
- Application workflow: Packaging staff need a shape and liner they can handle consistently.
- Campaign lifespan: An evergreen logo and a dated promotion have different reorder risks.
For printed stickers, ask about split-back liners when easier peeling matters to the packing workflow. Confirm the liner on the selected format instead of assuming every sticker or decal uses the same construction.
If made-in-the-USA production is a purchasing requirement, confirm it for the selected product before approval. Keep sourcing requirements in the order brief rather than treating them as an afterthought.
Match durability questions to the real use
Packaging labels and giveaways do not face identical conditions. A sticker on a shipping box has a different job from one customers attach to a frequently handled personal item.
For stickers for water bottles and laptops, the intended surface and exposure belong in the order brief because handling, moisture and cleaning change what you need to verify. Do not turn a general vinyl description into an unsupported promise about dishwashers, outdoor exposure or residue-free removal.
Ask specific questions about the selected product and the customer's likely use. If a giveaway is intended for drinkware, distinguish resistance to occasional splashes from suitability for repeated washing. If removal matters, ask about that separately from adhesion.
Match the product claim to the actual use case. A successful packaging test does not establish performance on every bottle, laptop finish or painted surface.
Review the proof as an approval document
A proof is where the artwork and ordering instructions meet. Open it at a readable scale, then separately assess the design at its intended physical size.
Check the business name and every other word first. Then check dimensions, orientation, background, border and cut line. Compare the proof with the file you intended to submit, not with your memory of the design.
For a 2026 promotional order, confirm that dates and destinations remain correct for the full distribution period. An approved layout does not keep a promotion current after its end date.
Scan QR codes before approval
A standard QR code needs a clear quiet zone of 4 modules on every side. A module is one of the small square units that form the code; the quiet zone must remain clear of artwork and nearby text.
Use a dark code on a light background and preserve its square geometry. Test the destination and scan the artwork at the intended size, then repeat the check on the finished sticker before distribution.
A human artwork check helps identify file issues. It does not decide whether your destination page, offer wording or business details are correct. Assign one person responsibility for the final approval.
Choose quantity from expected use
Start with the packaging jobs or giveaway opportunities you expect to complete while the design remains relevant. Add a deliberate allowance for application mistakes or replacements, rather than an unexplained surplus.
Separate evergreen artwork from campaign artwork. Your standard logo can remain useful after an event; a dated promotion or temporary destination creates a clearer limit on useful quantity.
Check the total order commitment, storage needs and likely reorder timing together. A lower unit rate does not make unused stickers useful. Keep the quantity decision tied to an actual distribution plan.
Does production start when I upload my artwork?
Two-business-day production after proof approval is different from two-business-day delivery. Uploading artwork, reviewing changes and approving the proof are separate stages from production; shipping time is additional.
Confirm the selected product's schedule and work backward from your required arrival date. Leave room for proof corrections instead of building a plan that only works if the first submission needs no changes.
Can I change the design after approving the proof?
Request a change immediately, but do not assume production can stop after approval. Confirm the order's status before treating a revised file as accepted.
Treat the approval action as the point when your instructions must be complete. Keep the approved proof and order details together so a later reorder does not accidentally use an older file.
FAQ
What’s the first step when ordering custom stickers online?
Choose the sticker’s purpose and placement before selecting its appearance. Measure the usable surface, then choose a shape, size and artwork layout that fit it.
What artwork should I upload for custom stickers?
Upload the cleanest original artwork you have and follow the selected product’s file requirements. Vector artwork supports scalable shapes, while raster images need adequate resolution at the finished print size.
Does Vinylstatus offer help checking sticker artwork?
Vinylstatus includes free online proofs and human artwork checks in its ordering guidance. You still need to confirm the wording, dimensions, cut line and intended result before approving production.
How do I know whether my sticker size is right?
Place a paper template at the intended size on the actual packaging or surface. Check readability, folds, seams and nearby information; the template checks fit, not adhesive performance.
How long does sticker production take after proof approval?
Two-business-day production after proof approval excludes shipping time. Confirm the schedule for the selected product and allow separate time for proof changes and delivery.
Do I need to test a QR code sticker before ordering?
Test the QR destination and scan the artwork at its intended size before approval. Preserve a quiet zone of 4 modules on every side, and test the finished sticker again before distributing it.
One last thing
Keep the approved proof, order specifications and a finished sticker together. When your next 2026 reorder comes around, compare all three before repeating the purchase. Reordering is faster when nobody has to reconstruct which file, dimensions and finish were actually approved.
Related guides