

QR code stickers for restaurant menus: a setup guide
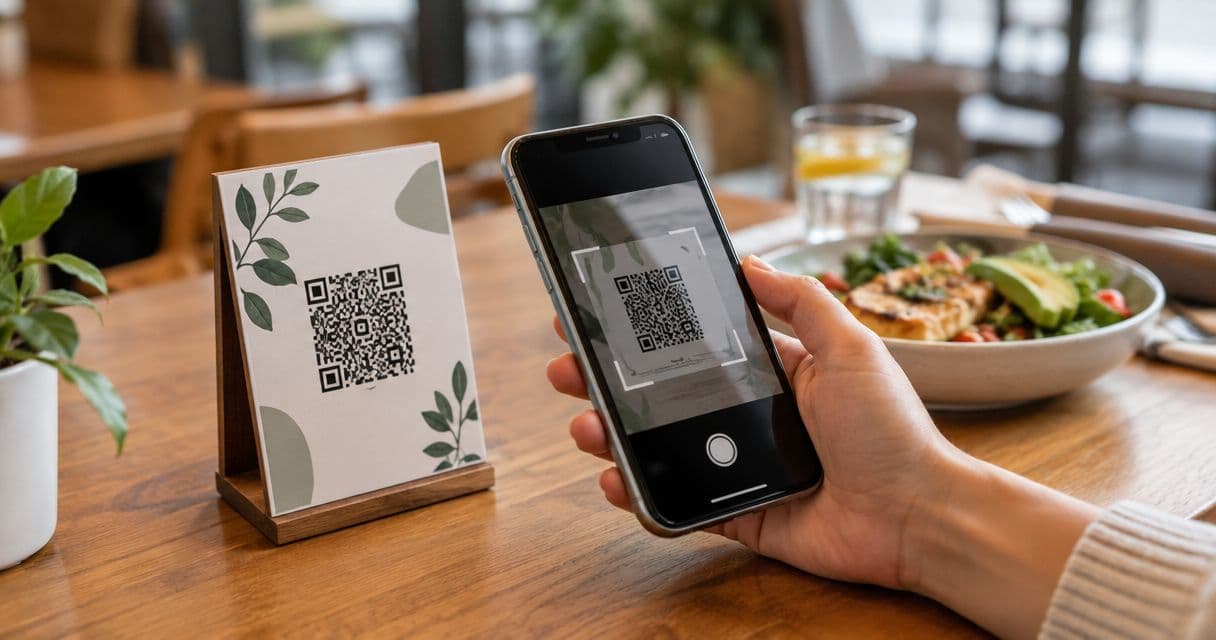
Restaurant menu QR code labeling is placing scannable links on tables, packaging, or service counters so guests can open your menu on their phones. For custom QR code stickers for restaurant menus in 2026, choose the destination before designing the sticker, then check contrast, placement, and a real printed scan before ordering.
- Use custom QR code stickers for restaurant menus only after the destination works on a phone.
- Vinylstatus suits restaurants supplying their own artwork; confirm the menu link and scan performance before proof approval.
- Keep the QR quiet zone clear, choose readable contrast, and test the final printed size.
- Calculate quantities from actual placements, replacements, and planned menu changes—not an arbitrary bulk total.
Why QR code stickers matter for restaurants
A restaurant menu sticker has a different job from a giveaway sticker. Guests must recognize its purpose, reach it comfortably, and open the right menu while seated or waiting to order. Decorative artwork comes second.
Vinylstatus is a fit for restaurants ordering custom QR code stickers from their own artwork. Start with the free online proof and human artwork check, but treat a successful scan as a separate approval requirement. You can use Vinylstatus for the printed sticker; your restaurant still needs to control the destination and keep the menu current.
For your 2026 setup, distinguish production from delivery. The stated two-business-day production period starts after proof approval; shipping time is additional. Work backward from your service date rather than treating production time as the arrival date.
The practical benefit is a repeatable route to the menu. The limitation is equally important: a printed code cannot fix an unreadable menu, a broken link, or a phone that cannot connect. Keep another way to view the menu available.
Set up restaurant menu QR stickers before ordering
Follow this sequence before committing to a bulk run. Each decision affects the next: a destination change can invalidate artwork, while a size change can invalidate a previous scan test.
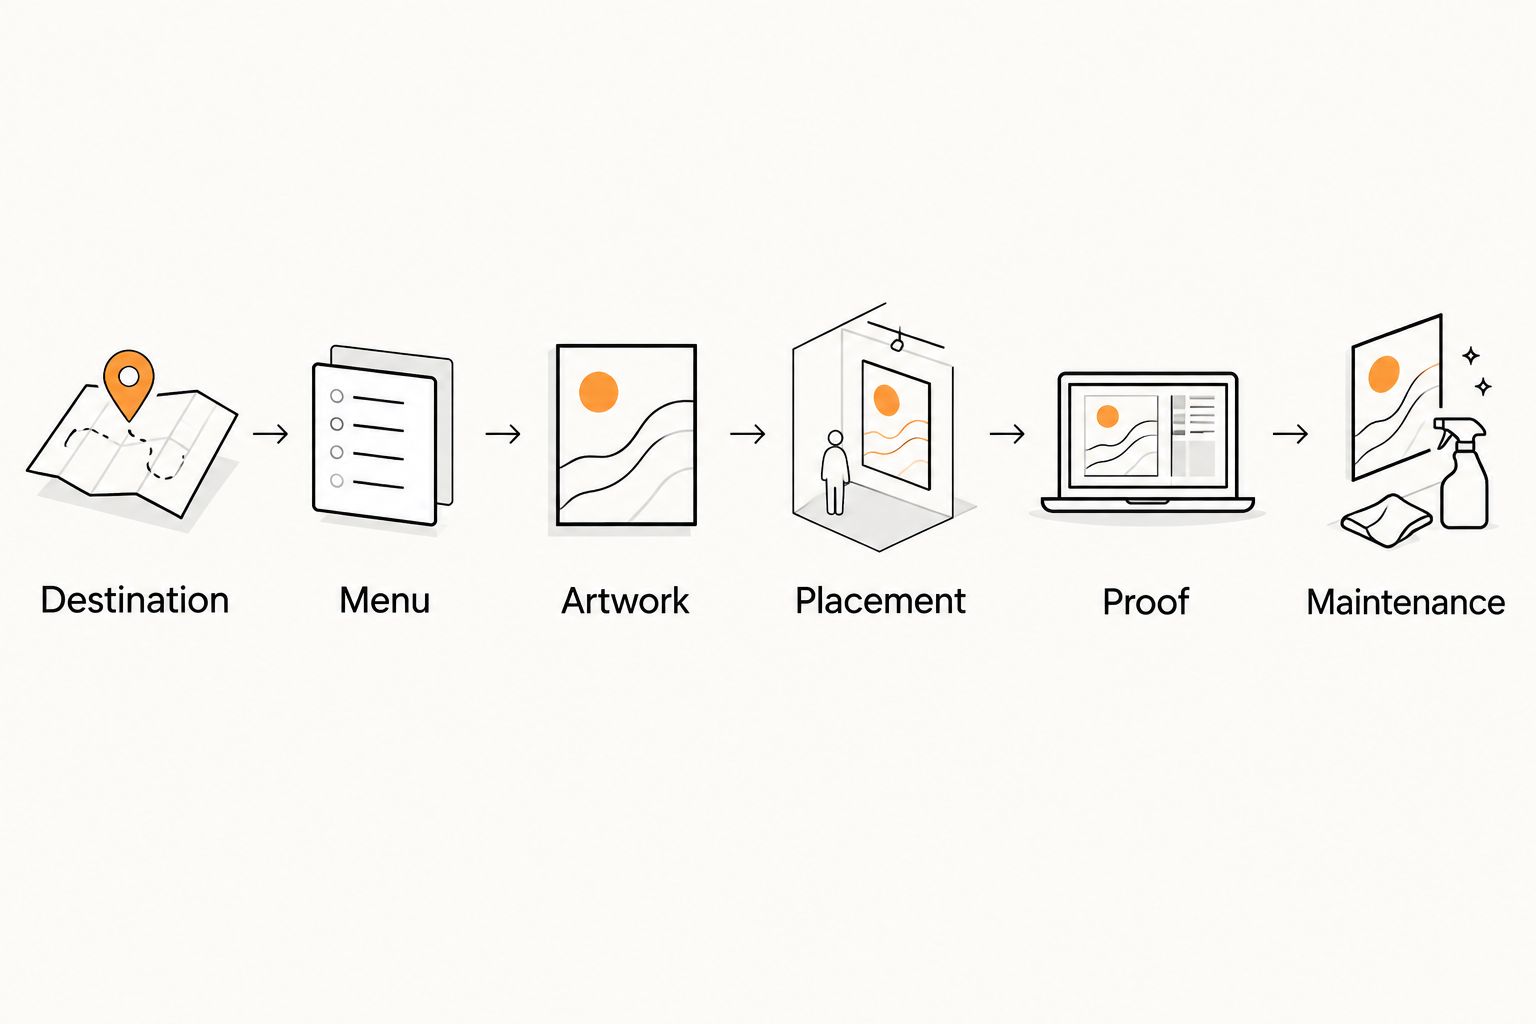
1. Choose a destination you control
The destination is the page guests reach after scanning. Use a stable menu page under your control whenever possible, rather than pointing directly to a file you expect to rename or delete. A stable page lets you replace menu content without necessarily replacing the printed code.
A static QR code contains its destination directly. A redirect-based setup sends guests through an intermediate address that can point elsewhere. The latter adds flexibility, but it also introduces another account or service that someone must maintain.
For a 2026 rollout, record who owns the destination and who can change it. Avoid making a staff member's personal account the only route to your restaurant's menu. If an outside provider manages the link, confirm what happens when that relationship ends.
- Destination: Open the exact address you intend to encode.
- Ownership: Keep access under a restaurant-controlled account.
- Purpose: Separate menu viewing from ordering or payment.
- Continuity: Record any redirect service involved.
- Fallback: Keep a printed menu or staff-assisted alternative.
2. Make the menu usable on a phone
A successful scan is only the first test. Guests need to read item names, descriptions, and ordering instructions without fighting the page. Open the menu on a phone before generating the final artwork.
A mobile web page and a PDF are both possible destinations. A web page gives you control over mobile layout; a PDF preserves a fixed layout but can require zooming. Neither format excuses tiny text or outdated content.
Use the same connection conditions guests encounter. Test with restaurant Wi-Fi and mobile data where those connections work. If the page depends on an account, an app, or a consent screen, assess that interruption before printing a permanent invitation to scan.
- Menu: Put readable content ahead of decorative imagery.
- Access: Check whether login or app installation blocks viewing.
- Navigation: Make the correct meal or service menu easy to find.
- Accuracy: Verify item names, descriptions, and current offerings.
- Fallback: Give staff a way to help guests who cannot scan.
3. Build artwork around the code
Create the QR code from the final destination, then protect its functional parts. QR codes need a clear margin called the quiet zone. Keep that margin free of borders, illustrations, text, and neighboring graphics; it is part of the code's readable area, not spare design space.
Start with dark code modules on a plain light background. Avoid stretching the code, adding texture behind it, or placing a logo over it without retesting. Save artwork in a format that preserves crisp edges at the intended print size.
For custom QR code stickers, Vinylstatus handles the printed artwork rather than the accuracy of your restaurant's menu content. A human artwork check helps with the print file; it does not replace checking the encoded destination yourself.
Do not choose a tiny sticker first and squeeze the code into it afterward. Final size depends on the code's detail, viewing distance, and surrounding instructions. Test the actual design rather than adopting a universal minimum.
- Contrast: Use a plain background behind the code.
- Quiet zone: Leave the required clear margin intact.
- Artwork: Preserve square proportions and sharp edges.
- Instruction: Add a short phrase such as Scan for menu.
- Identity: Keep the restaurant name separate from the code.
- Export: Retain an editable master and the final print file.
4. Match the shape and finish to the placement
Measure the usable surface before choosing a sticker shape. A narrow counter edge, a flat tabletop, and a takeaway box do not offer the same space. Keep the entire code on one flat, visible area rather than folding it across an edge or seam.
Print the proposed design at actual size on ordinary paper and place it where the sticker will go. Sit or stand where guests will scan. Check whether condiments, plates, hands, shadows, or overhead reflections interfere.
Finish is a buying question, not just an appearance choice. Matte and glossy surfaces handle reflections differently, while holographic effects change appearance with light and angle. Judge the code against your actual lighting, and confirm the chosen material suits the surface and cleaning routine before ordering.
Your placement test should also check handling. A tabletop sticker that staff repeatedly scrape or soak faces different conditions from a label on takeaway packaging. Do not assume one application proves suitability for the other.
- Surface: Measure the flat area available for the whole design.
- Reach: Place the code where guests can scan comfortably.
- Lighting: Check glare during actual service conditions.
- Cleaning: Confirm material suitability for your cleaning routine.
- Shape: Keep the cut line outside the quiet zone.
5. Approve the proof and calculate the order
Proof approval is the point to stop and inspect, not hurry. Check the destination, spelling, dimensions, cut line, and quiet zone. Then print the proof at its intended size and scan it again. A large code on a monitor does not demonstrate that a smaller printed code works.
Build quantity from a placement list. For example, a restaurant planning one sticker on each of 24 tables plus 2 replacement stickers needs 26 stickers for that plan. This is an ordering example, not a recommended minimum or a forecast of replacement demand.
Keep separate totals for tables, counters, and packaging. Packaging quantities follow expected use, while table quantities follow installed positions and your chosen replacement allowance. Combining them without a placement plan makes it harder to judge what the order actually covers.
Before approval, contact Vinylstatus with unresolved questions about the print file, chosen format, or production timing. Confirm any peeling or liner requirement for the selected product rather than assuming every sticker format uses the same construction.
- Proof: Verify dimensions, text, code, and cut line.
- Scan: Test a printout at the intended final size.
- Quantity: Count installed positions and planned replacements separately.
- Schedule: Allow production after approval plus shipping time.
- Record: Save the approved file and destination together.
6. Assign maintenance before the stickers arrive
Give one role responsibility for the menu destination and another clear route for reporting problems. Record the approved design, placement locations, and link owner in the same place. For your 2026 operating checklist, include a scan after menu edits and after replacing a sticker.
Test the final printed sticker before placing the full order into service. Scan it on different phones under the lighting where guests will use it. Check the opened page, not just the camera's recognition of the code.
For businesses serving both seated guests and mobile customers, custom stickers for food trucks raise a different placement question: a counter code must remain visible while customers queue, whereas packaging moves with the order. Keep those placements on separate artwork and test lists instead of assuming the tabletop version transfers unchanged.
Staff also need a simple failure response. If a guest reports the wrong menu, inspect the destination first. If the page is correct but the code will not scan, inspect lighting, surface damage, obstruction, and print size before changing the menu itself.
- Maintenance: Assign ownership of the destination and artwork.
- Testing: Scan after content changes and sticker replacement.
- Inspection: Remove damaged or obscured stickers from service.
- Support: Tell staff how to provide another menu format.
- Records: Keep placement-specific files clearly named.
Compare menu access options
Choose the access method before choosing the sticker treatment. These options solve different problems, and a restaurant can keep a printed fallback alongside its QR setup.
| Option | Best for | Practical advantage | Key limitation |
|---|---|---|---|
| Static QR code linking to a stable menu page | Restaurants controlling their menu destination | Keeps the encoded address straightforward | Changing the encoded address requires new artwork and stickers |
| Redirect-based QR code | Restaurants needing to change destinations without changing the code | Separates the printed code from the final destination | Adds a redirect account or service to maintain |
| QR code linking directly to a PDF | Restaurants already maintaining a fixed-layout menu file | Preserves the document layout | Phone users can face zooming, and file changes need careful link management |
| Printed menu without a QR requirement | Guests who cannot or prefer not to scan | Removes the phone and connection requirement | Physical copies need updating when content changes |
Choose a stable destination first; choose a redirect only when its flexibility answers a real operating need. A more complicated link arrangement is not automatically a better menu experience.
Common mistakes restaurants make
Linking to the wrong service menu
A working code can still send lunch guests to a dinner menu or takeaway customers to dine-in instructions. Check the destination from the guest's position, and label separate codes by purpose.
Approving the code only on a screen
Screen size and brightness hide problems that appear in print. Scan an actual-size printout, then check the delivered sticker before installing the batch.
Ordering around a temporary destination
A temporary file or staff-controlled account creates unnecessary replacement risk. Resolve destination ownership before proof approval, not after the stickers are on tables.
Treating every surface as equivalent
A scan on clean paper does not establish how a sticker performs under reflections, cleaning, or repeated handling. Confirm material suitability and test the intended location.
FAQ
What’s the best destination for a restaurant menu QR sticker?
A stable menu page your restaurant controls is a practical starting point. Check that it opens on a phone without unnecessary login or app-installation steps.
How big should custom QR code stickers for restaurant menus be?
Choose a size that passes an actual-size printed scan test in the intended location. Code detail, the quiet zone, viewing distance, and lighting all affect the decision.
Can I change my menu without replacing the stickers?
Yes, if you update content at the same destination the code already uses. Changing the address encoded in a static code requires new artwork and replacement stickers.
Is matte or glossy better for restaurant QR stickers?
Choose the finish that keeps the code readable under your restaurant’s lighting. Test reflections at the intended placement rather than choosing on appearance alone.
Does proof approval mean the QR code is ready for service?
No, proof approval does not replace a real scan test. Verify the destination, print the design at final size, and inspect the delivered sticker before installation.
How many menu stickers should a restaurant order?
Count the planned placements and add a replacement allowance based on your own operation. Keep table, counter, and packaging quantities separate so each total has a clear purpose.
Do restaurants still need printed menus with QR stickers?
Keep another menu-access option for guests who cannot scan or connect. A printed menu or staff-assisted alternative prevents the QR code from becoming the only route to ordering.
One last thing
For your 2026 launch, test the entire trip from table to menu—not just the code. Sit in the guest's seat, scan the delivered sticker, open the correct menu, and find an item. If that sequence fails, fix the destination or placement before installing the rest.