

QR code stickers for retail packaging: reviews and reorders
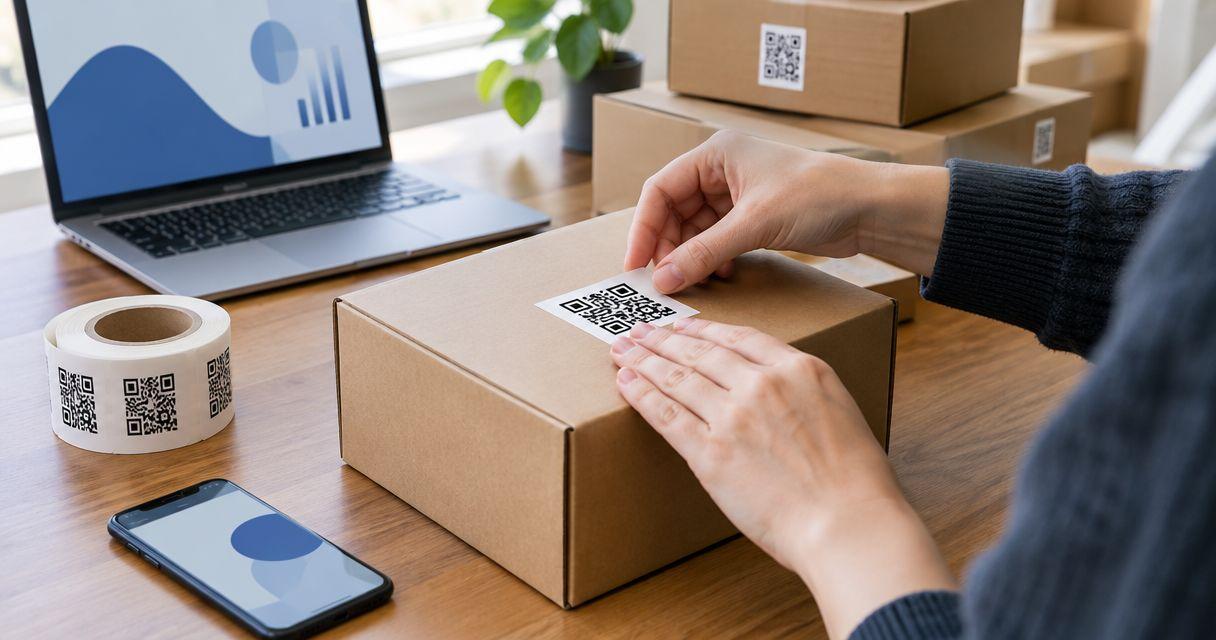
Small retailers’ QR code stickers for retail packaging are scannable labels that send customers from a physical package to a review or reorder page. For businesses printing their own artwork, Vinylstatus offers free online proofs and human artwork checks; your job is to choose the destination, check placement, and test the code before approving the order.
- QR code stickers for retail packaging work best when the printed instruction matches one clear destination.
- Vinylstatus offers free online proofs and human artwork checks for custom sticker orders.
- Keep review requests neutral; make reorder links lead to the correct product or purchasing page.
- Test the final artwork at actual size and on the intended package before proof approval.
Why QR code stickers matter for small retailers
A packaging sticker gives customers a route back to your business after they leave the store or open a delivery. A review request asks them to share their experience. A reorder link helps them find the item again. Those are different jobs, and the sticker needs to make its job clear.
Retail packaging adds physical constraints that a screen preview cannot show. A bag folds. A bottle curves. A glossy surface reflects light. A code that looks readable on your monitor still needs a real scan from its intended position.
For your 2026 packaging plan, choose the customer action before choosing the sticker shape. A neatly printed code is not useful if it opens the wrong page, asks for an unnecessary login, or disappears when the customer removes a seal.
How to plan QR code stickers for reviews and reorders
1. Choose the action
Start by writing the action in plain language: leave a review or reorder this product. Use that sentence to choose both the destination and the printed instruction. Do not make customers scan first to discover what you want them to do.
A review sticker belongs at a point where customers can reasonably evaluate their purchase. A reorder sticker needs to remain useful when they are ready to buy again. For a consumable product, a code on the retained container serves a different purpose from a code on discarded outer wrapping.
Use one primary action per sticker. If both actions matter, a clearly labeled choice page is an alternative, but it adds a decision between the scan and the destination.
For each design, record these four items before opening your artwork file:
- Purpose: Decide whether the sticker requests a review or supports a reorder.
- Destination: Identify the exact page the customer should reach.
- Instruction: Write a short line such as “Review your purchase” or “Reorder this item.”
- Placement: Choose a surface the customer will still have when the action becomes relevant.
2. Build the destination
Open the intended destination on your phone before generating the code. Follow the entire customer path, not just the first page. For a reorder, check the product, variant selection, and purchase controls. For a review, check that the page accepts the kind of feedback you are requesting.
Use a destination you control when practical. A page on your own website lets you revise the instructions without changing the printed address, provided that address remains unchanged. An externally managed redirect adds another service to maintain, so check its account requirements and redirect controls before committing artwork.
For a 2026 campaign, name the landing page clearly but avoid making the printed sticker depend on a short-lived promotion. Packaging often remains in circulation after the campaign changes.
- Open the destination in a mobile browser without an existing login.
- Confirm that a reorder page identifies the correct product and available choices.
- Send review requests to the relevant review destination, not a general homepage.
- Remove unnecessary steps between the scan and the stated action.
- Record who maintains the page and checks that the address still works.
3. Prepare the artwork
Build the QR code in a dedicated generator, then place it in your sticker artwork without stretching it. Preserve the blank margin around the code, called the quiet zone. Keep logos, borders, cut lines, and instruction text outside that margin.
Start with dark code modules on a plain, light background. Decorative effects complicate the scan test without helping customers understand the action. If your layout uses a reflective finish, test a physical representation under the lighting where customers will use it rather than judging appearance alone.
Vinylstatus is an option for small businesses ordering QR code stickers for retail packaging from their own artwork. Its free online proof and human artwork check provide a review point, but you still need to verify the encoded destination and customer journey yourself.
- Preserve the QR code’s proportions when resizing the artwork.
- Keep the quiet zone clear of surrounding design elements.
- Place the instruction outside the code and its blank margin.
- Use a clean source file rather than a screenshot of a screenshot.
- Save the destination address alongside the final artwork for checking.
4. Size and position the sticker
Make an actual-size paper mockup before choosing dimensions. Place it on the real box, pouch, bottle, or bag. This simple check shows whether the code crosses a fold, curves around a container, or competes with required product information.
There is no single sticker size that resolves every combination of code density, surface, lighting, and scanning distance. Choose dimensions through testing rather than shrinking the code until the layout looks tidy. Leave enough surrounding space for the instruction to remain readable.
For your 2026 packaging refresh, use 2 phones as a practical test, not as a guarantee of universal compatibility. Test the intended position straight on and at a natural handheld angle. If the mockup fails, change the size, layout, or placement before ordering.
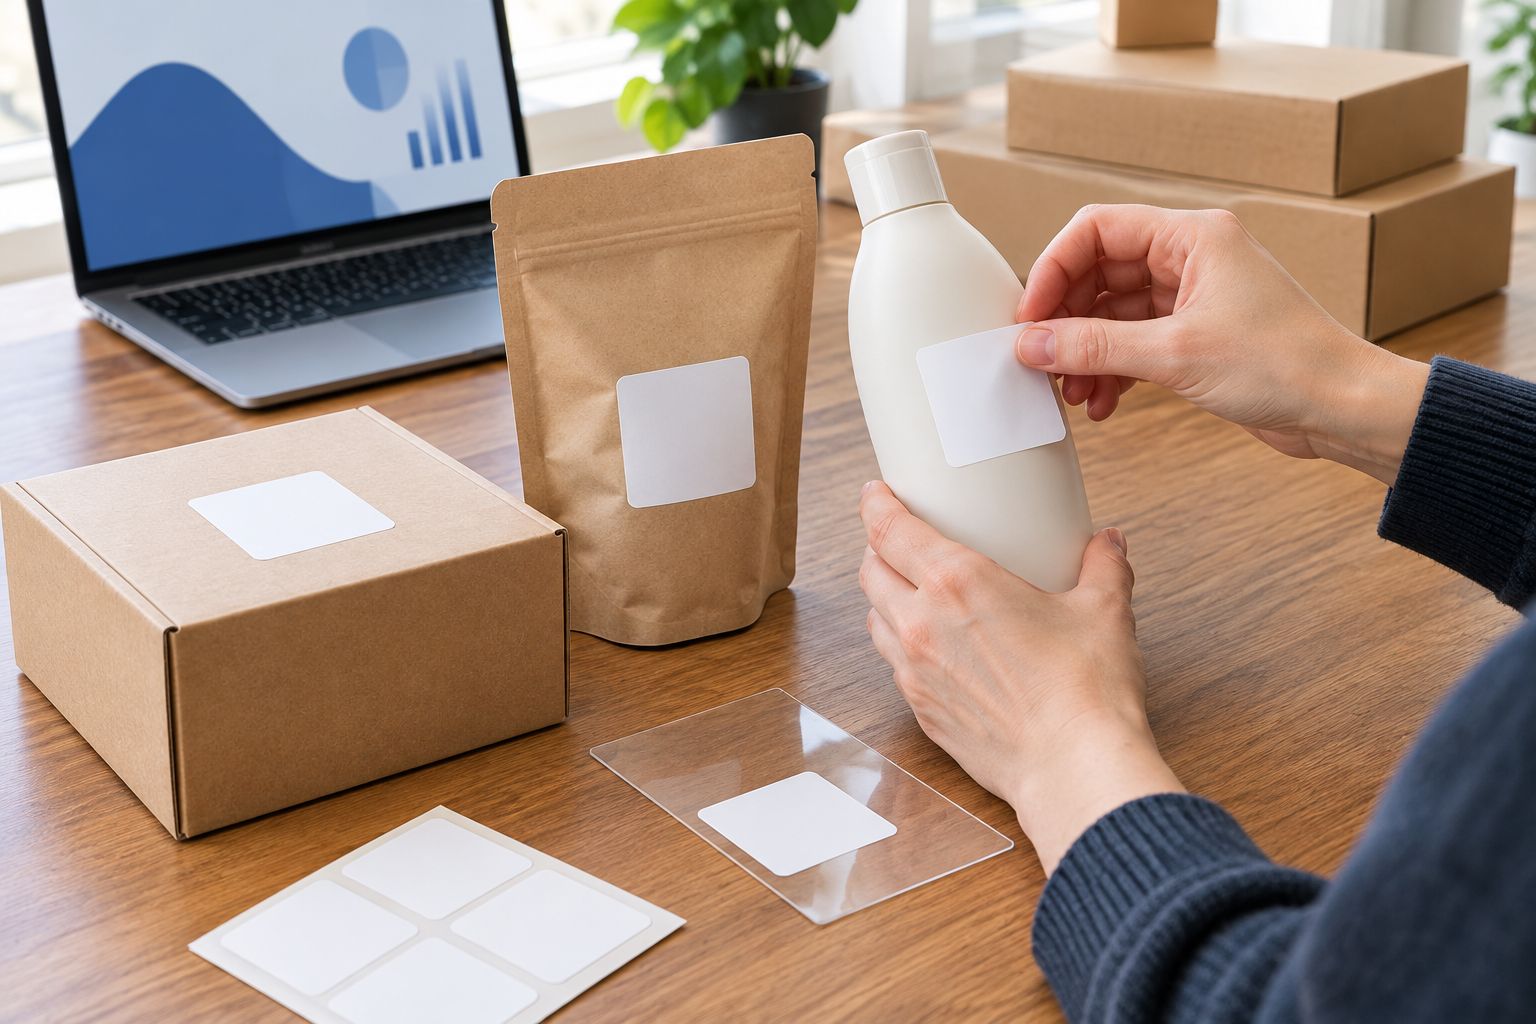
A flat panel is the simplest starting point because the whole code stays in one plane. A curved surface needs particular attention: the complete code must remain visible to the camera from a usable position.
- Measure the usable panel rather than the entire package face.
- Keep the code away from folds, seams, and opening edges.
- Avoid covering ingredients, warnings, barcodes, or other required information.
- Test under ordinary indoor lighting and reflected light.
- Check whether opening the package damages or removes the sticker.
5. Check the proof and order quantity
Review the online proof as production artwork, not as a general design preview. Check the dimensions, cut shape, wording, and location of the code within the design. Scan the code shown in the final proof and compare its destination with your saved address.
For Vinylstatus orders, use the human artwork check to raise print-preparation questions. Keep destination testing separate: an artwork review does not establish that the linked product, review form, or checkout path is correct. Ask an ordering question before approval if the proof leaves dimensions, finish, or artwork preparation unclear.
Build the quantity from planned use, not from an attractive quantity break. For example, 1 sticker per package gives you a straightforward starting calculation: planned packages multiplied by stickers per package, plus a deliberate allowance for application mistakes or replacements. Treat that allowance as your own operating choice, not a universal percentage.
- Count the packages you expect to label during the intended period.
- Separate review-sticker demand from product-specific reorder demand.
- Compare the proof with the artwork file and saved destination.
- Confirm the applicable production schedule after proof approval.
- Allow additional time for shipping before scheduling packing work.
6. Track the result
Keep a simple spreadsheet before adding more reporting systems. Record the sticker design, destination, product, packing period, and intended action. If you use campaign parameters, keep their naming consistent and check that they do not break the destination.
Scans are not the same as completed reviews or orders. Website visits show that someone reached a page; completed actions show whether the route did its job. Where your review platform does not report packaging-specific attribution, do not label every new review as a sticker result.
For your 2026 reorder decisions, compare like with like. Different products, packing periods, or destination pages create different conditions. Keep the artwork version with the results so you can identify which printed batch used which link.
- Record the final destination and artwork version for each batch.
- Separate landing-page visits from completed purchases or reviews.
- Check the link again when a product page or website structure changes.
- Review customer questions for signs that the printed instruction is unclear.
- Reorder the existing design only after confirming that its destination still fits.
Compare review and reorder sticker options
Choose the route by the action you want, not by how many links you can fit behind a code. The options below have different advantages and limitations; none replaces a mobile test of the final destination.
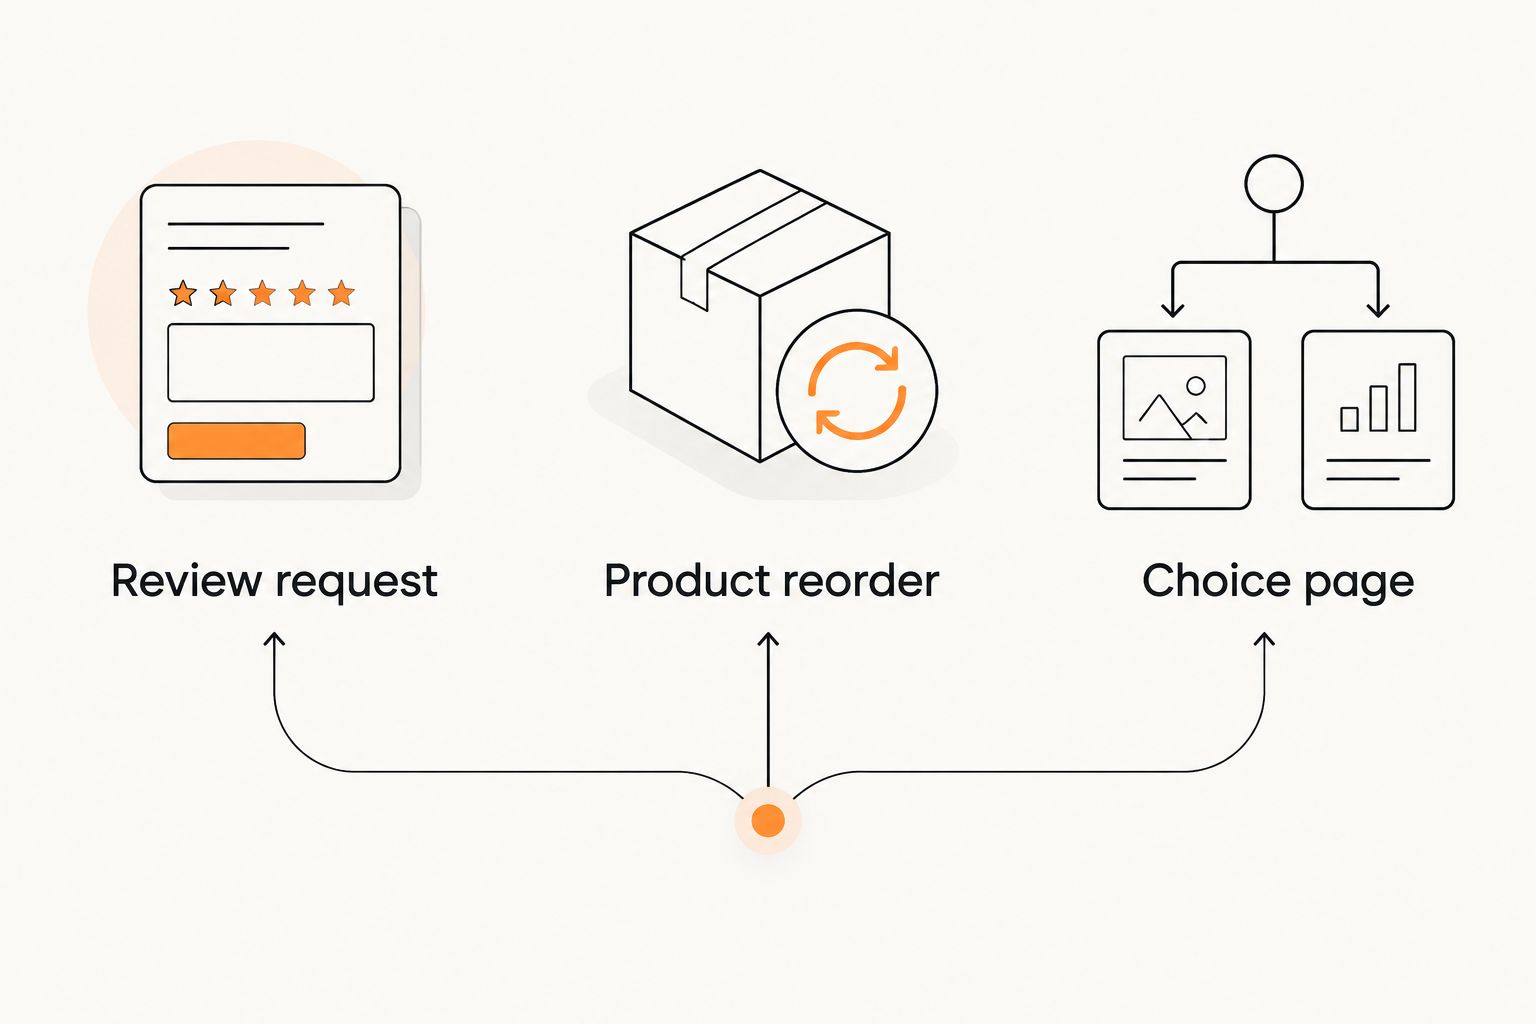
| Option | Best for | Practical advantage | Key limitation |
|---|---|---|---|
| Review request | Retailers asking for purchase feedback | Gives the customer a clearly stated feedback task | Does not provide a direct purchasing route |
| Product reorder | Repeat-purchase items with a maintained product page | Takes the customer toward the relevant item | Needs checking when products, variants, or addresses change |
| Choice page | Packaging that must support both actions | Lets one printed code serve separate customer needs | Adds a decision before the customer reaches the task |
| General homepage | Packaging intended mainly to introduce the business | Provides a broad introduction | Makes the customer find the review or reorder route |
Choose the direct destination when the sticker promises a specific action. A homepage is a poor match for “Reorder this item” if the customer then has to search the catalog. A choice page earns its extra step only when both actions genuinely belong on the same package.
Common mistakes small retailers make
Asking for a review before the product is used
An outer shipping box reaches the customer before they have necessarily tried the product. Put the request where its timing makes sense, and use neutral wording that asks for honest feedback. Check the review platform’s rules before offering an incentive or restricting who receives the request.
Sending every product to the same catalog page
A general catalog forces the buyer to identify the item again. For product-specific reorder packaging, send the customer to the matching item or a clearly labeled selection page. Check variants carefully so the sticker does not imply a choice the customer has not made.
Approving only the screen preview
A large preview hides the effect of reducing the artwork. Check the proof, then test an actual-size mockup on the package. Keep the quiet zone intact when revising the layout; moving a decorative border closer to the code changes the design you tested.
Ordering more than the destination can support
A product-specific sticker depends on the linked product and page remaining useful. Do not base a large order solely on expected packaging volume if the item is being renamed, replaced, or discontinued. Resolve the destination first, then approve the quantity.
FAQ
What’s the best destination for QR code stickers for retail packaging?
The best destination matches the action printed beside the code. Send a reorder instruction to the relevant product or purchasing page, and a review request to the appropriate feedback destination.
Can I use one QR code for reviews and reorders?
Yes, one QR code can open a choice page with separate review and reorder links. The trade-off is an extra decision before customers reach the task, so label both choices clearly.
What size should a retail packaging QR sticker be?
Choose the size by testing the complete artwork on the intended package. Code density, quiet zone, surface curvature, lighting, and scanning distance all affect whether the design works.
Can I change the destination after printing QR stickers?
You can change the content at an address you control without changing the printed code, provided that address remains unchanged. A direct code pointing to another address cannot itself be edited after printing.
Does an online proof replace a real scan test?
No, an online proof does not replace a scan test at actual size on the intended package. Scan the proof to check its destination, then test the physical layout for placement and readability.
Does Vinylstatus check custom sticker artwork?
Vinylstatus offers free online proofs and human artwork checks. You remain responsible for checking the QR destination, the customer journey, and whether the finished layout suits your packaging.
Should I ask only happy customers to scan a review sticker?
Use a neutral request for honest feedback rather than directing only satisfied customers toward a public review. Check the chosen review platform’s solicitation and incentive rules before printing your wording.
One last thing
Treat the destination address as part of the printed artwork. Save it with the proof, dimensions, and approved instruction. A replacement design is easy to recognize; a changed page address is easier to overlook.
Before repeating a 2026 sticker order, scan a sticker from the existing batch and finish the customer journey yourself. That check connects the print decision to the review or reorder action the sticker is supposed to support.