

Sticker Size Guide: Measure and Choose the Right Fit
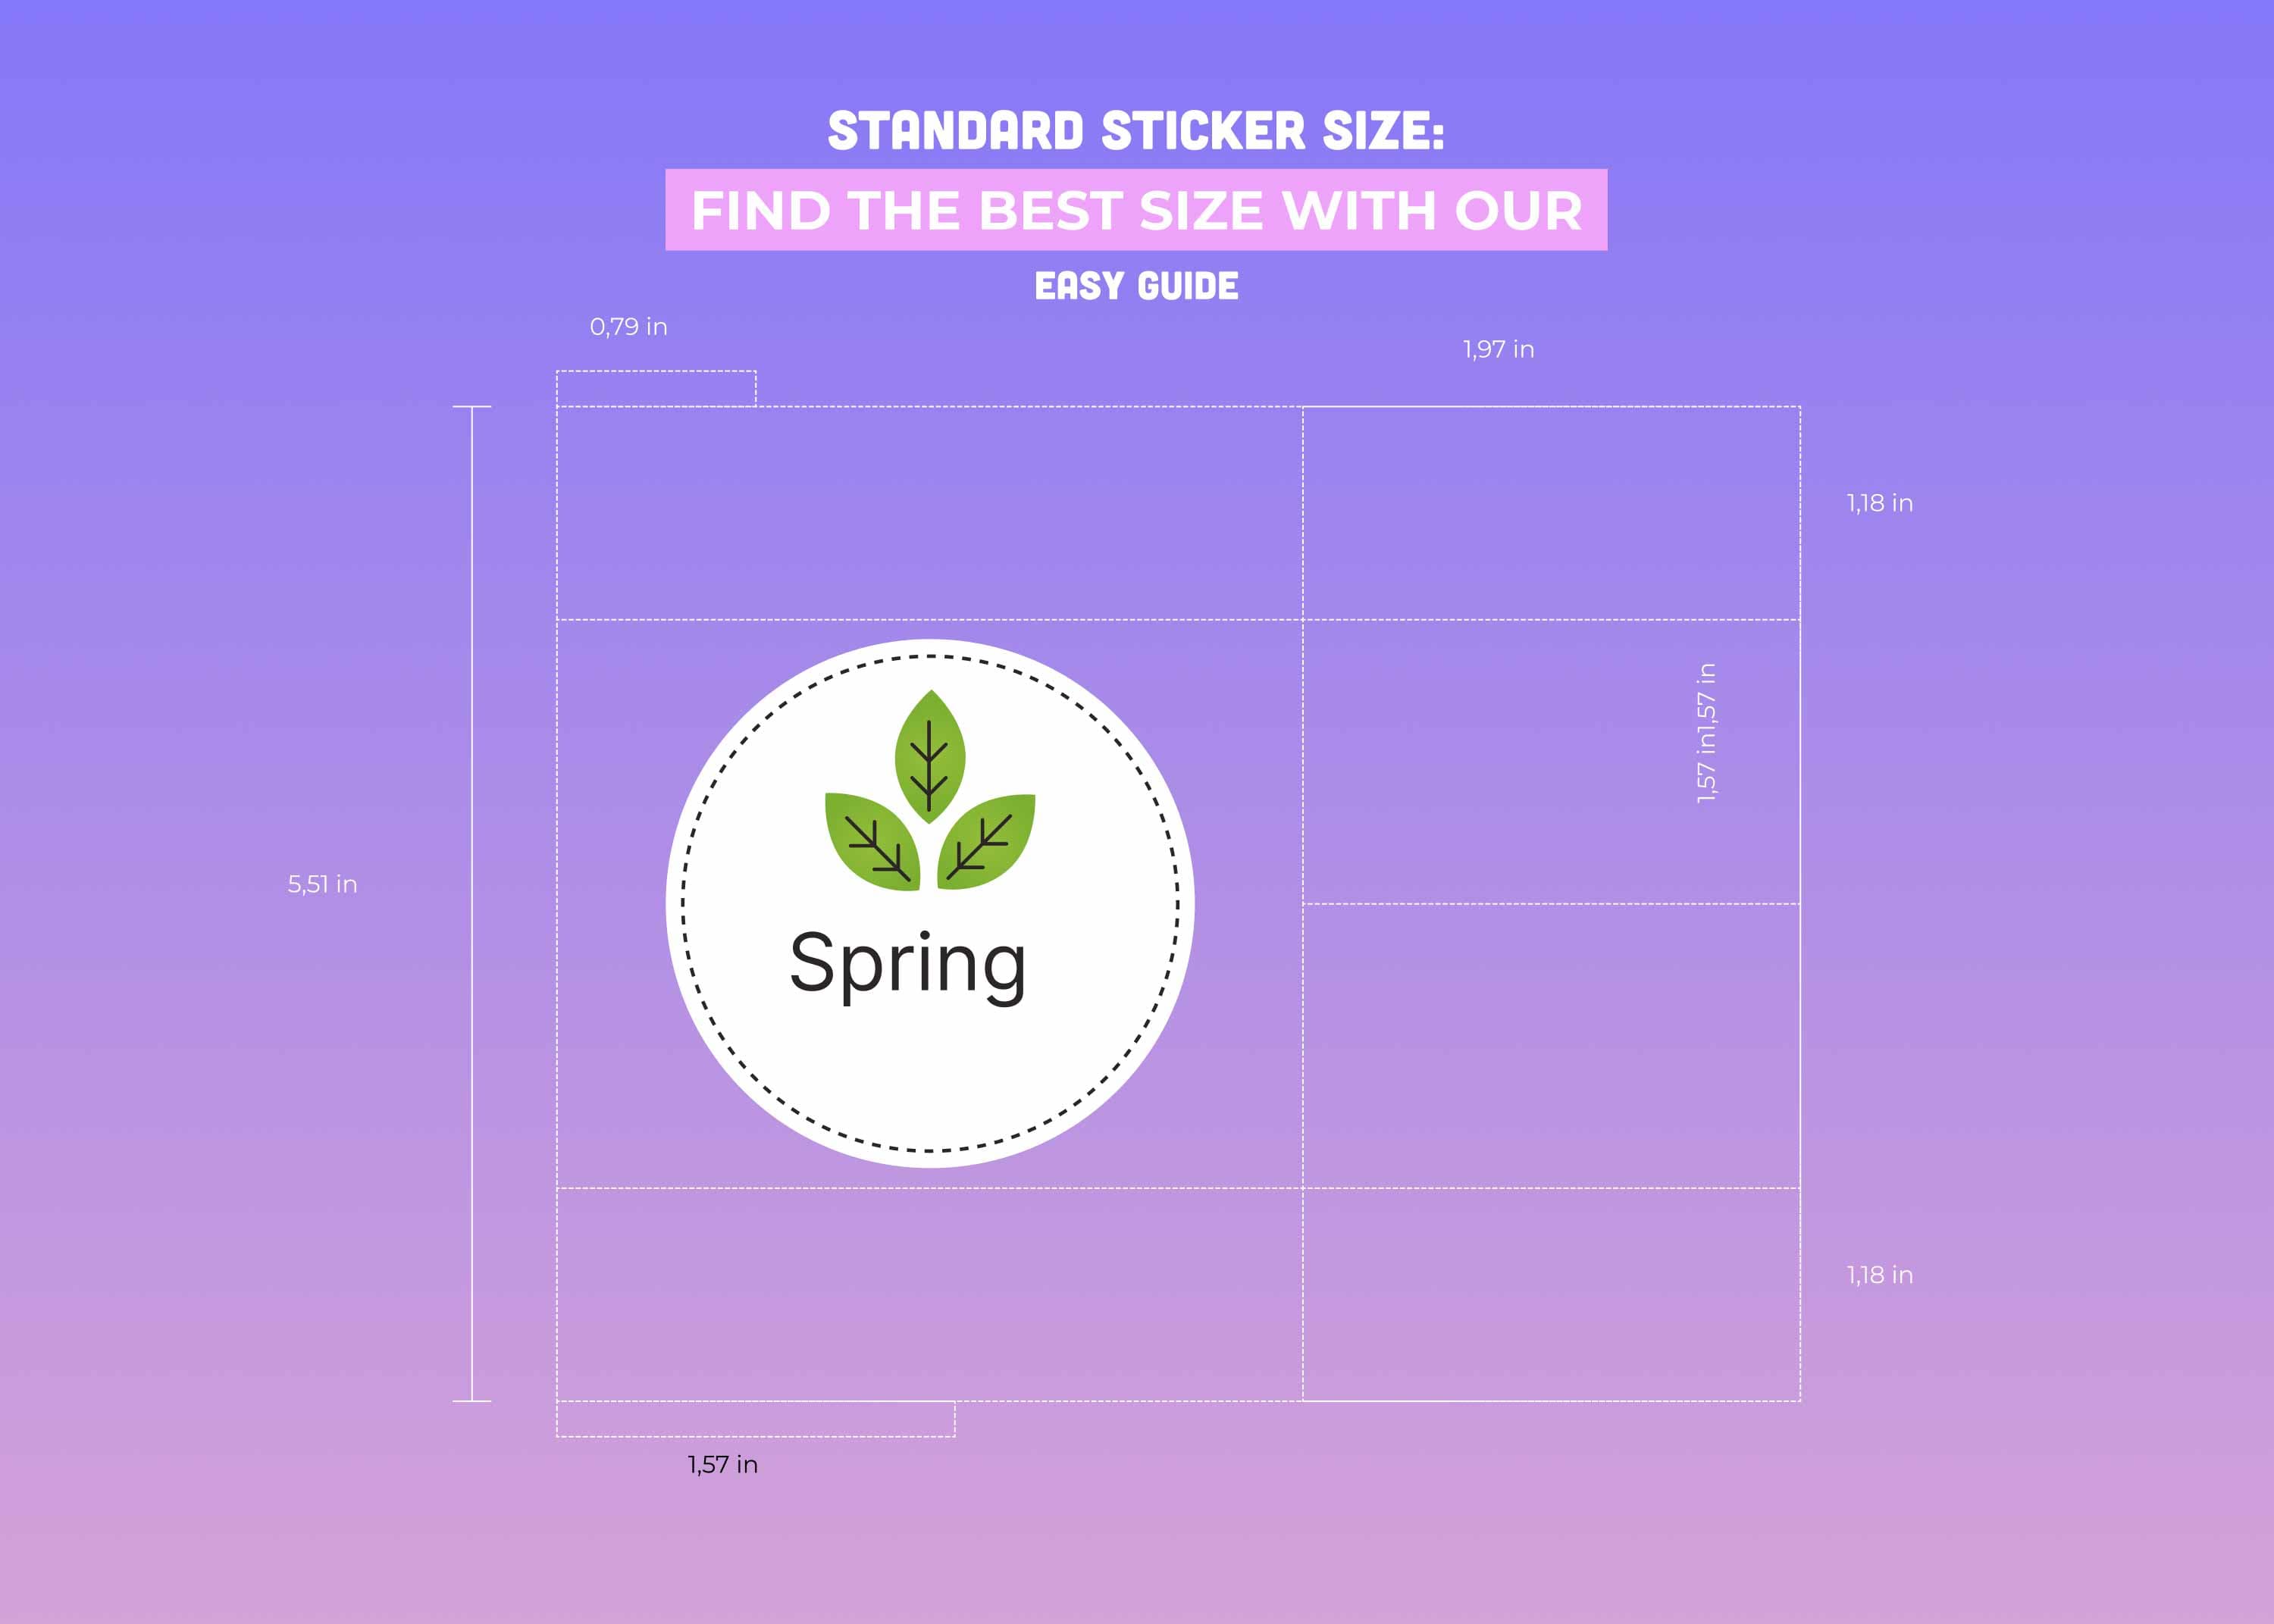
There is no single standard sticker size that fits every design. Start with the usable space on the surface, then check whether your artwork stays readable at that size. The sizes you can order depend on the selected product; use its current options and your proof to confirm the finished dimensions.
A round logo, a long bumper design and lettering on a window need different proportions. Compare custom sticker shapes before choosing dimensions, or use the vinyl sticker builder to see the choices for your printed artwork.
A sticker size chart for the decision you need to make
Use this chart as a fit checklist. It describes what to measure, rather than claiming that one set of dimensions is standard or available on every product.
| Sticker or use | Measure and check | See current options |
|---|---|---|
| Circle logo | Diameter across the whole circle; check the smallest lettering. | Circle stickers |
| Rectangle or packaging label | Width and height of the flat area, clear of folds and required information. | Rectangle stickers |
| Die-cut artwork | Overall width and height, including the border and cut outline. | Die-cut stickers |
| Bumper design | The actual usable area; check the words from the intended viewing distance. | Bumper stickers |
| Custom text decal | The complete lettering layout, including every line and any icon. | Custom text decals |
Measure the surface before the artwork
Measure both width and height on the actual item. Avoid seams, handles, curves and information that must remain visible. A label that fits the front of a box may not fit a narrow pouch. A large area on a screen does not tell you how much flat space is available on the surface.
For a circle, measure the diameter. For a shaped sticker, check the bounding width and height of the complete outline. For social or text decals, include the icon and every line of lettering rather than measuring just one word.
Make an actual-size paper mockup
Draw the proposed outline on paper, cut it out and hold it against the intended surface. If you print a test layout, turn off “fit to page” and check the result with a ruler. Our practical sticker sizing guide walks through this check.
Read the design from the distance at which it will be used. A simple logo can remain clear in a smaller space than a design with a tagline, address and several social handles. If small text becomes hard to read, enlarge the design or simplify it. A paper mockup checks fit and readability, not the final material or adhesion.
Check file quality at the finished size
A larger sticker needs artwork that stays sharp when enlarged. As an illustrative file calculation, a 4 × 2-inch design at 300 pixels per inch needs 1,200 × 600 pixels. This is a resolution example, not a promise that every product offers that size.
Use the original file when possible. Review our sticker artwork preparation guide for image quality, borders and proof checks. Test a QR code at the intended finished size rather than assuming that a large on-screen preview proves it will scan.
Confirm the size you are ordering
- Check the selected product's available dimensions and quantity.
- Confirm whether the displayed measurements include the border and cut outline.
- Review spelling, the smallest details and the overall dimensions in your proof.
- Ask for help before approval if the fit or readability is uncertain.
Ready to compare? Choose a sticker shape, then build your printed vinyl sticker order. For an unusual placement, ask the team about your design and surface.