

Custom logo stickers for packaging: an ordering guide
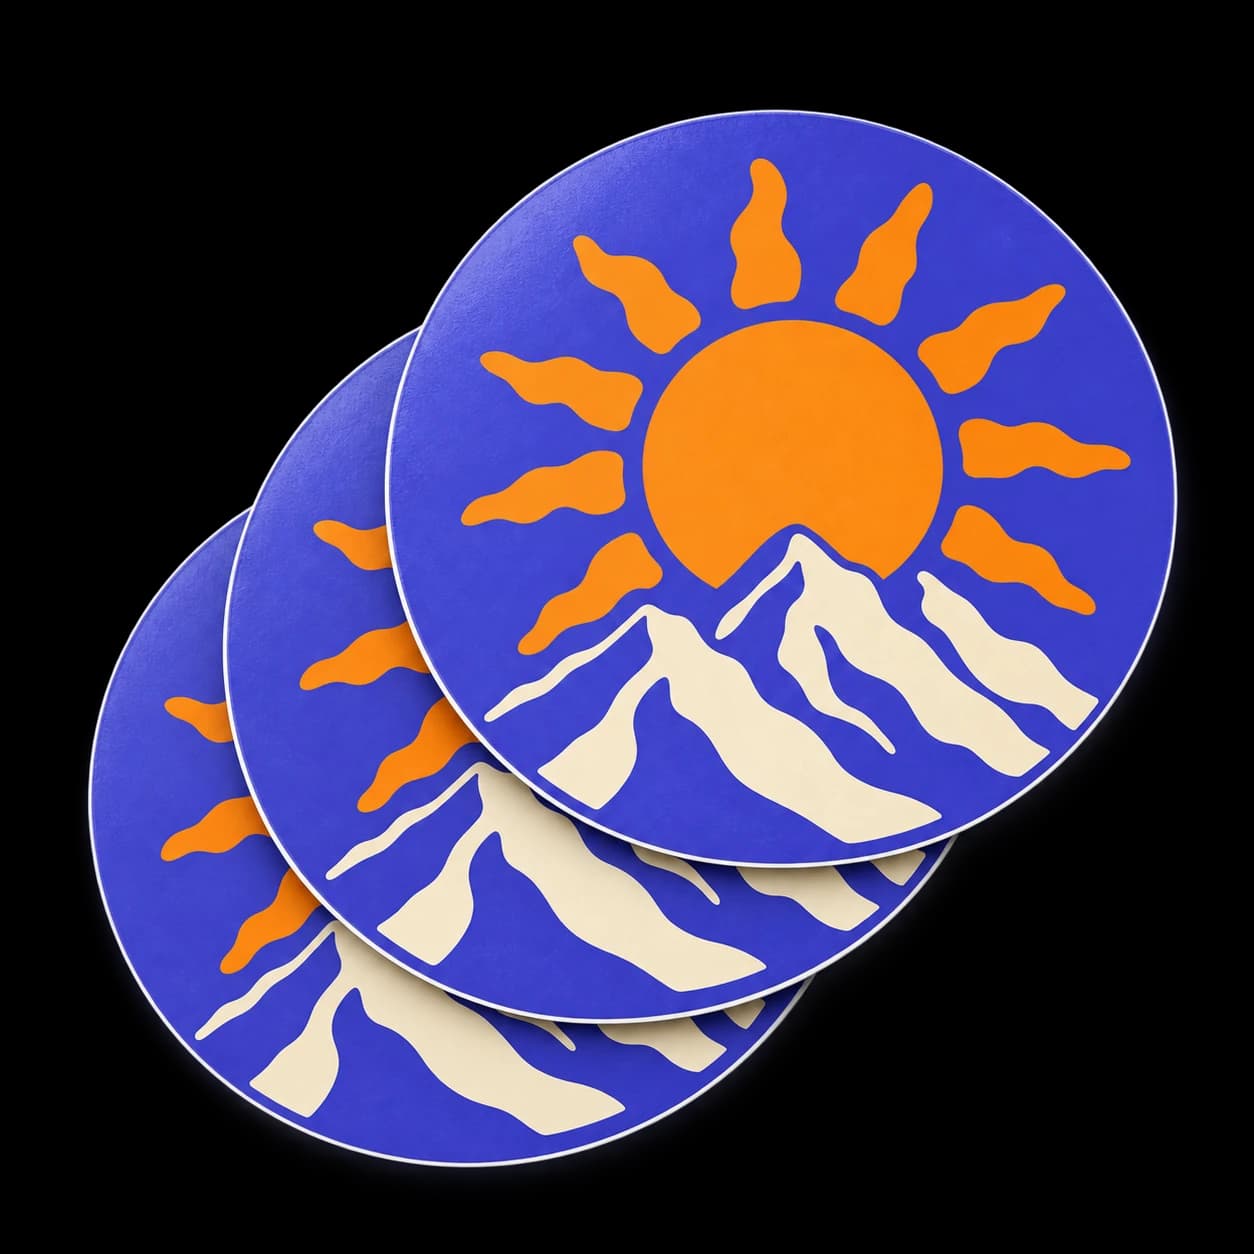
Custom logo stickers can give plain boxes, bags and mailers a consistent brand detail without redesigning every piece of packaging. A useful order starts with where the sticker will sit, what it needs to communicate and how many packages you expect to prepare.
Instead of shrinking your entire business card onto a sticker, give each design a clear job. A logo on the front of a box, a thank-you detail inside it and a product information label serve different purposes. Plan them separately before choosing a shape or quantity.
Give the sticker one main purpose
A brand sticker helps people recognize who sent the package. A promotional sticker might be an extra item customers can keep. A product label communicates information about the item. One small design does not need to do all three.
For example, a bakery could place a round logo on a box lid while keeping product information on a separate label. A clothing brand could use a simple shaped logo as an enclosed giveaway. These are layout ideas; check that any product information you already use remains visible and readable.
- Front of the package: prioritize the logo and brand name.
- Inside the package: consider a short thank-you or care message.
- Customer giveaway: use a design someone might want on their own belongings.
Measure the placement before choosing a shape
Measure the usable area on the actual packaging. Stay clear of folds, seams, handles and information that needs to remain visible. A sticker that fits a box lid may be too wide for a small pouch, even if the two packages contain the same product.
A round badge can suit a centered placement on a lid or bag. A rectangle can work when the design needs a wider horizontal layout. A die-cut outline can follow a distinctive logo, but the overall width and height still need to fit the space.
Cut out a paper shape at the proposed size and hold it on the package. Fold and stack the packaging as you normally would. Our sticker size guide explains this fit check in more detail.
Make a packaging version of your logo
Use the original logo file and check it at the size you plan to print. A detailed full brand lockup may need a simpler version for small packaging: the symbol and business name can be enough. Remove a tiny tagline if it cannot be read without zooming.
Think about the package color around the sticker. A white border can separate artwork from a dark box; a colored border can become part of the design. Keep the border consistent across the range and describe it in your artwork instructions.
If you add a QR code, give it space and test a printed example at the intended size with more than one phone. Our QR code sticker checklist covers the scan test. For file quality and cut-line checks, use the artwork preparation guide.
Check the packaging surface and finish
Paperboard, coated bags and plastic containers can behave differently when a sticker is applied. Check the product guidance and describe your packaging to the team if you are unsure. Try an example on the actual surface, especially if it is textured, curved or coated.
Test the normal sequence: assemble the package, apply the sticker and handle it as you would during packing. Avoid assuming that a branding sticker will hold a parcel closed or provide tamper evidence. Use suitable packaging closures for those jobs.
The vinyl sticker builder lets you compare Matte and Glossy finishes. Choose for the appearance you want, then confirm the selected product's options. A matte finish can suit a quiet package design, while a reflective finish may suit a brighter look.
Calculate quantity from your packing plan
Start with the number of packages, multiply by the number of stickers used on each and add an allowance for your own packing process. As an illustrative calculation, 120 packages using two stickers each need 240 stickers before any allowance. This is a planning example, not a recommended order quantity.
Keep separate counts if you use different designs or sizes. A front logo and an enclosed giveaway should not be treated as one interchangeable stock item. Compare the actual total in the builder with expected use, and avoid ordering more dated artwork than you are likely to need. Use our sticker quantity planning guide for a fuller comparison.
Review the proof as a packing decision
Before approval, check the current logo version, spelling, border and finished dimensions. Confirm where each design will go and whether the smallest information remains clear. Save the approved version and its size so the next order is easier to specify.
Ready to choose? Start with custom circle stickers for badge-style logos, die-cut stickers shaped around your artwork, or the custom vinyl sticker builder to compare shapes and finishes. If your packaging has an unusual surface, ask the team before ordering.